The fan is key. Definitely get a fan.
I didn't realize until a few months after having a fan in the van how important it is. With a fan in the van you can drastically reduce the moisture that gathers on the windows, it helps air out a tiny space that you cook in, sleep in and bathe in, and it really helps keep the van a comfortable temperature. I use the fan all the time when I'm cooking to keep steam from condensing in the van, to keep the onion and garlic smell from lingering and to air out the burning propane. Fantastic fans are awesome, 100% would recommend.
Materials
Process
Step 1: Measure 14 times cut once. Of all the holes that Michael or I have drilled into the van, this one has far surpassed any of the others when it comes to stress level. This isn't just a hole in the van that can be covered up or plugged, this is a full on 14x14 inch square in the ceiling of the van that won't ever go back to normal if you mess it up. So don't mess it up.

Measure and mark your lines!
Step 2: Drill a starter hole for the saw blade, then widen the hole a bit.

One
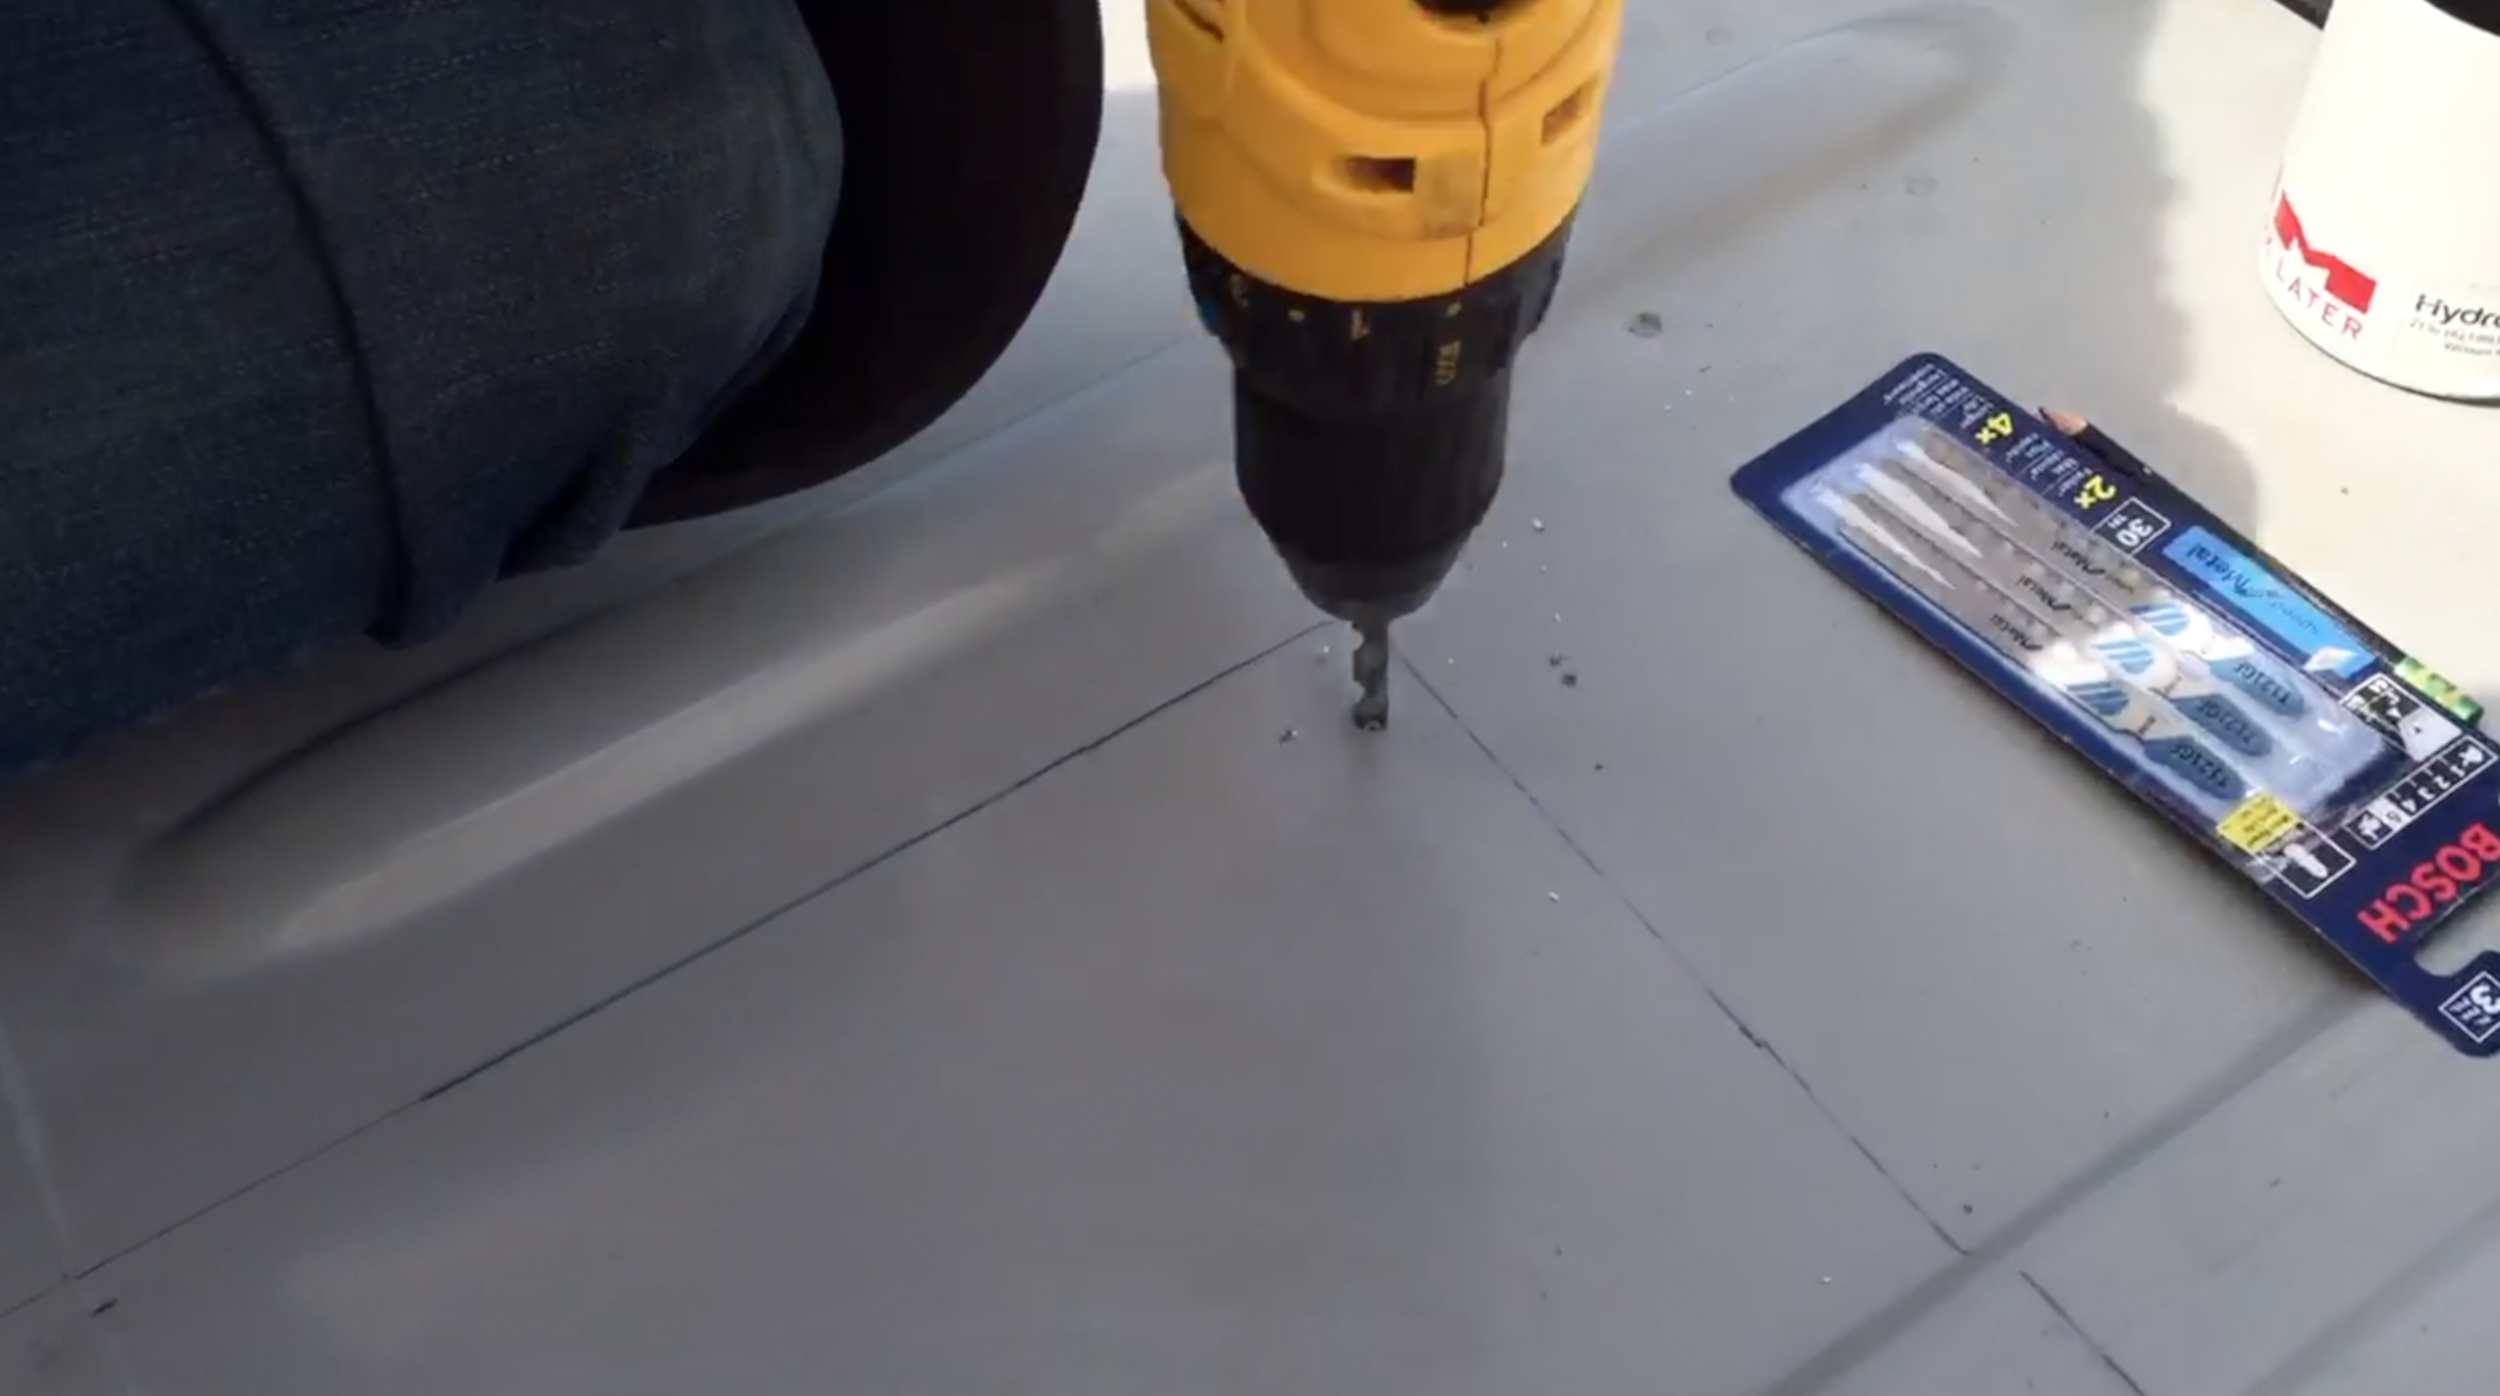
Two

Three

Four!
Step 3: Cut smoothly and confidently.

Step 4: Once you've cut out the metal part of the van you need to lay down the butyl tape over the ridges in the van roof so the fan has a level space to sit. We built up around the ridges with the butyl tape and then laid down one more layer over the top of the ridges so tape would adhere to the bottom of the fan completely.

Building up the ridges.

And one final layer to even it out.
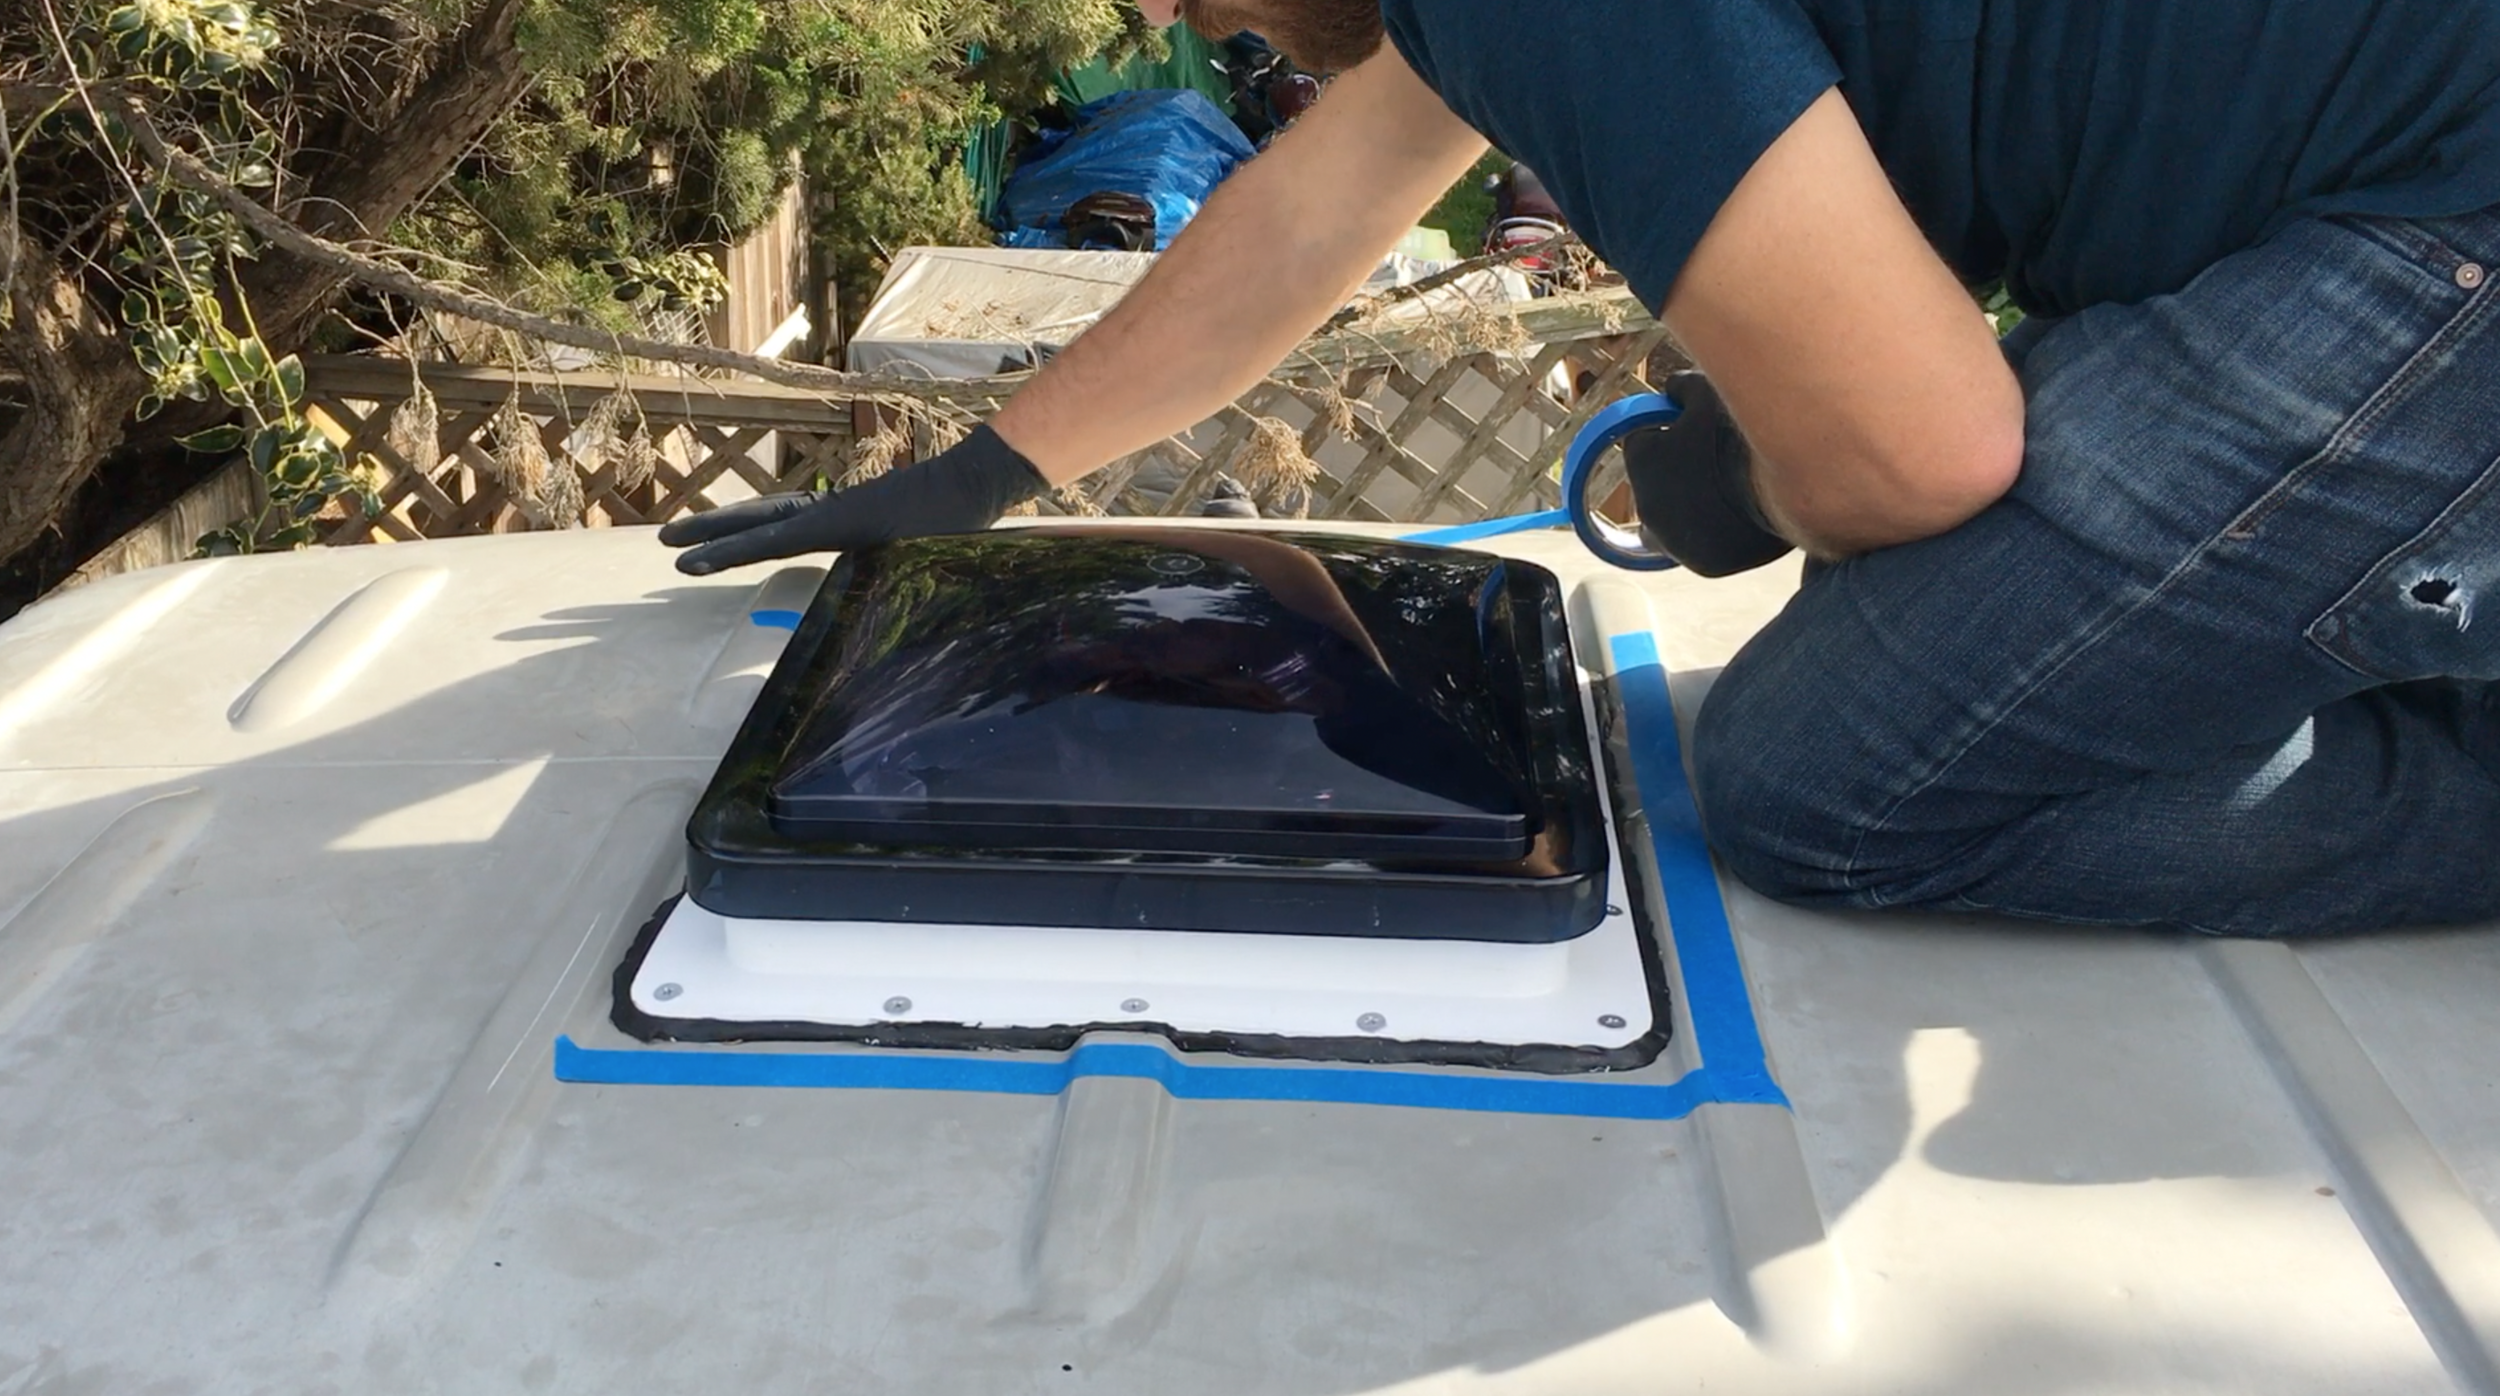
Step 5: Place the Fantastic Fan into the hole you cut.
Step 6: Pre-drill the holes for the screws.
Step 7: Screw down the fan!
Step 8: Use painters tape to make a clean line around the edge of the fan. Then take the Marine Adhesive Sealant and cover the lip of the fan as well as the heads of the screws.

Step 9: Place the 'flange' they include in the box over the bottom of the fan on the inside of the van. You will have to cut it to fit your particular ceiling thickness. This step will come much later unless you have already installed your inner paneling/ceiling.
Step 10: Connect the wires (included on the fan) to a power source.
Conclusion
The fan is great! No problems so far. The most stressful part about this was just cutting the hole in the roof!