Installing Sprinter Van Floors!
The very first thing we did on the Sprinter van (after tearing out the shelving left over from the other guy) was install the van floors. The floors are a really important part of the install. I've seen a lot of build outs that recommend doing the floors last, but that seems counter-intuitive to me. We also went with the 'hardwood' floors instead of the roll out linoleum flooring that some installs have. If I was to do it again, I would totally do the hardwood floors!
Materials
The only thing I couldn't find on Amazon was the underlayment which can be found here:
Underlayment - http://bit.ly/2aKtEUM
Process
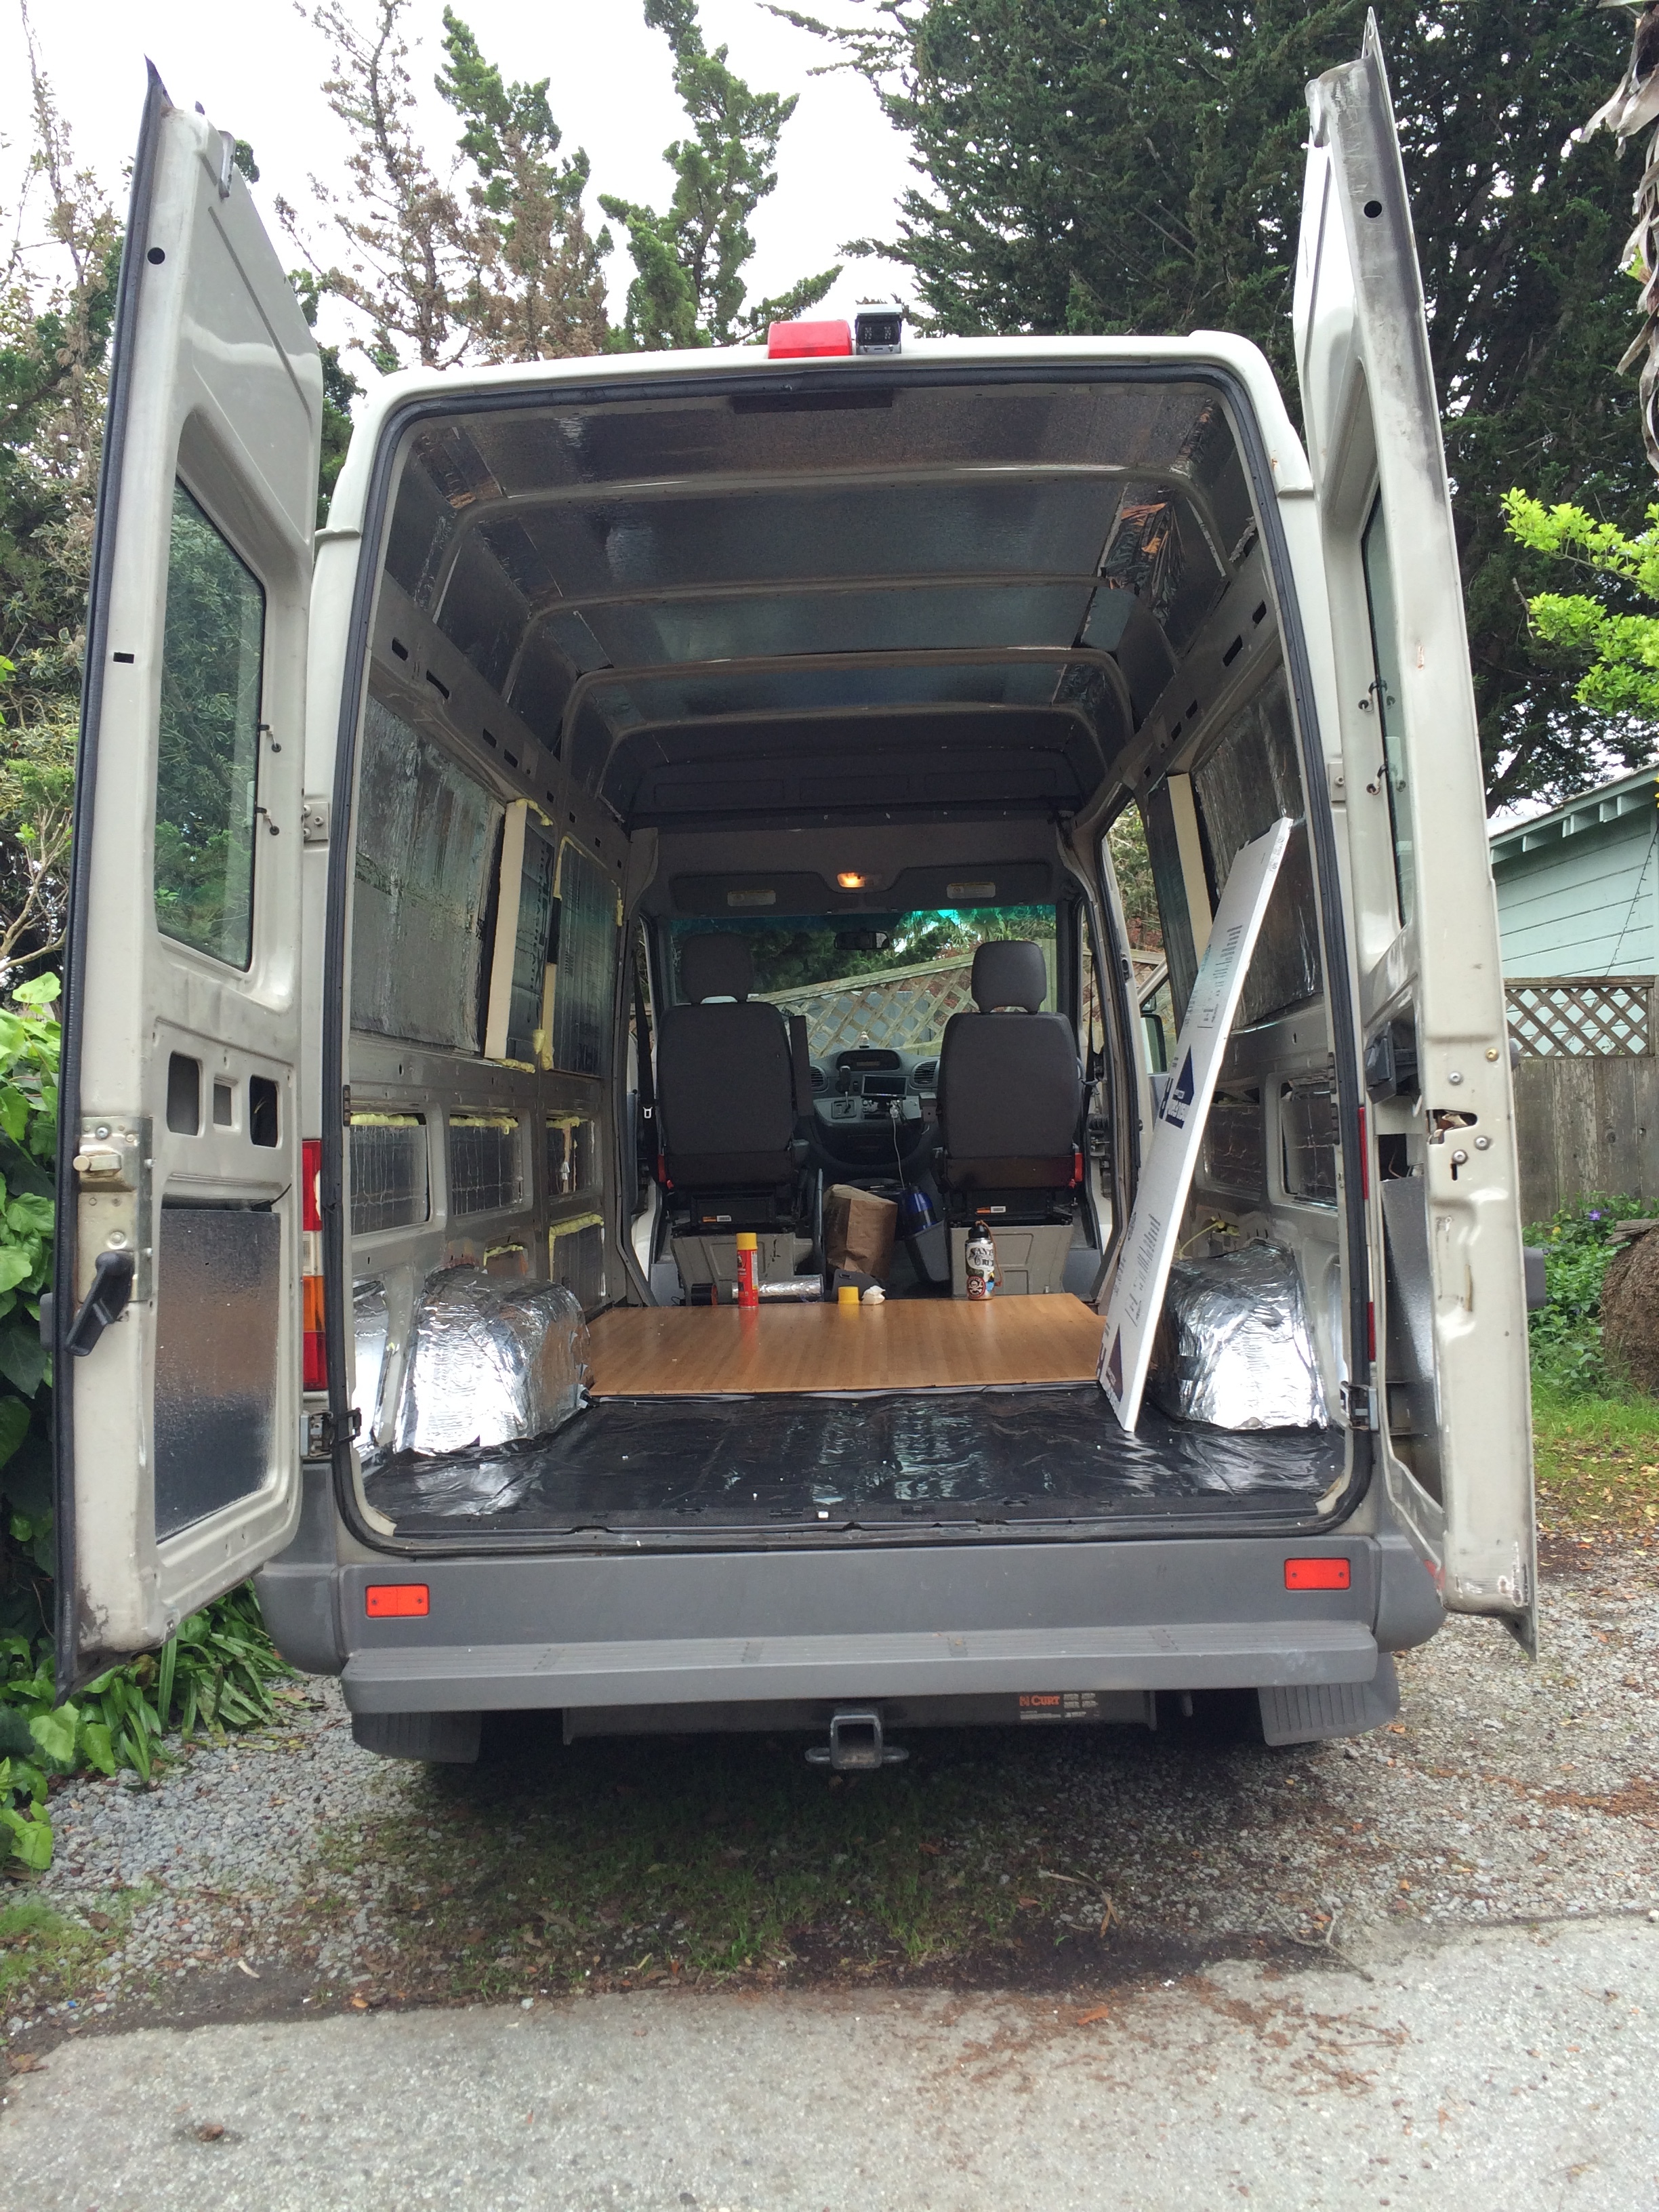
Step 1: Tear everything out of the van.

Before
After
Step 2: Power wash the metal van floor! It was really really dirty when we bought it. So washing and drying and cleaning it was important.
Step 3: Lay down the frost king duct insulation. Make sure to cover the wheel wells! Also, the duct tape that we used was really terrible. I would instead use gorilla tape which I've linked to above.
Step 4: Roll out the moisture barrier and use the spray adhesive to secure it down. Gorilla tape around the edges!

Step 5: Cut the OSB to fit the vans shape! This is harder than it looks. We used a jigsaw to get the wiggly edges around the wheel wells.
Step 6: Paint the OSB so that it's sealed. It smelled pretty bad the first time around so we had to let it sit outside for a while.

Use the old subfloor to trace a pattern for the new subfloor
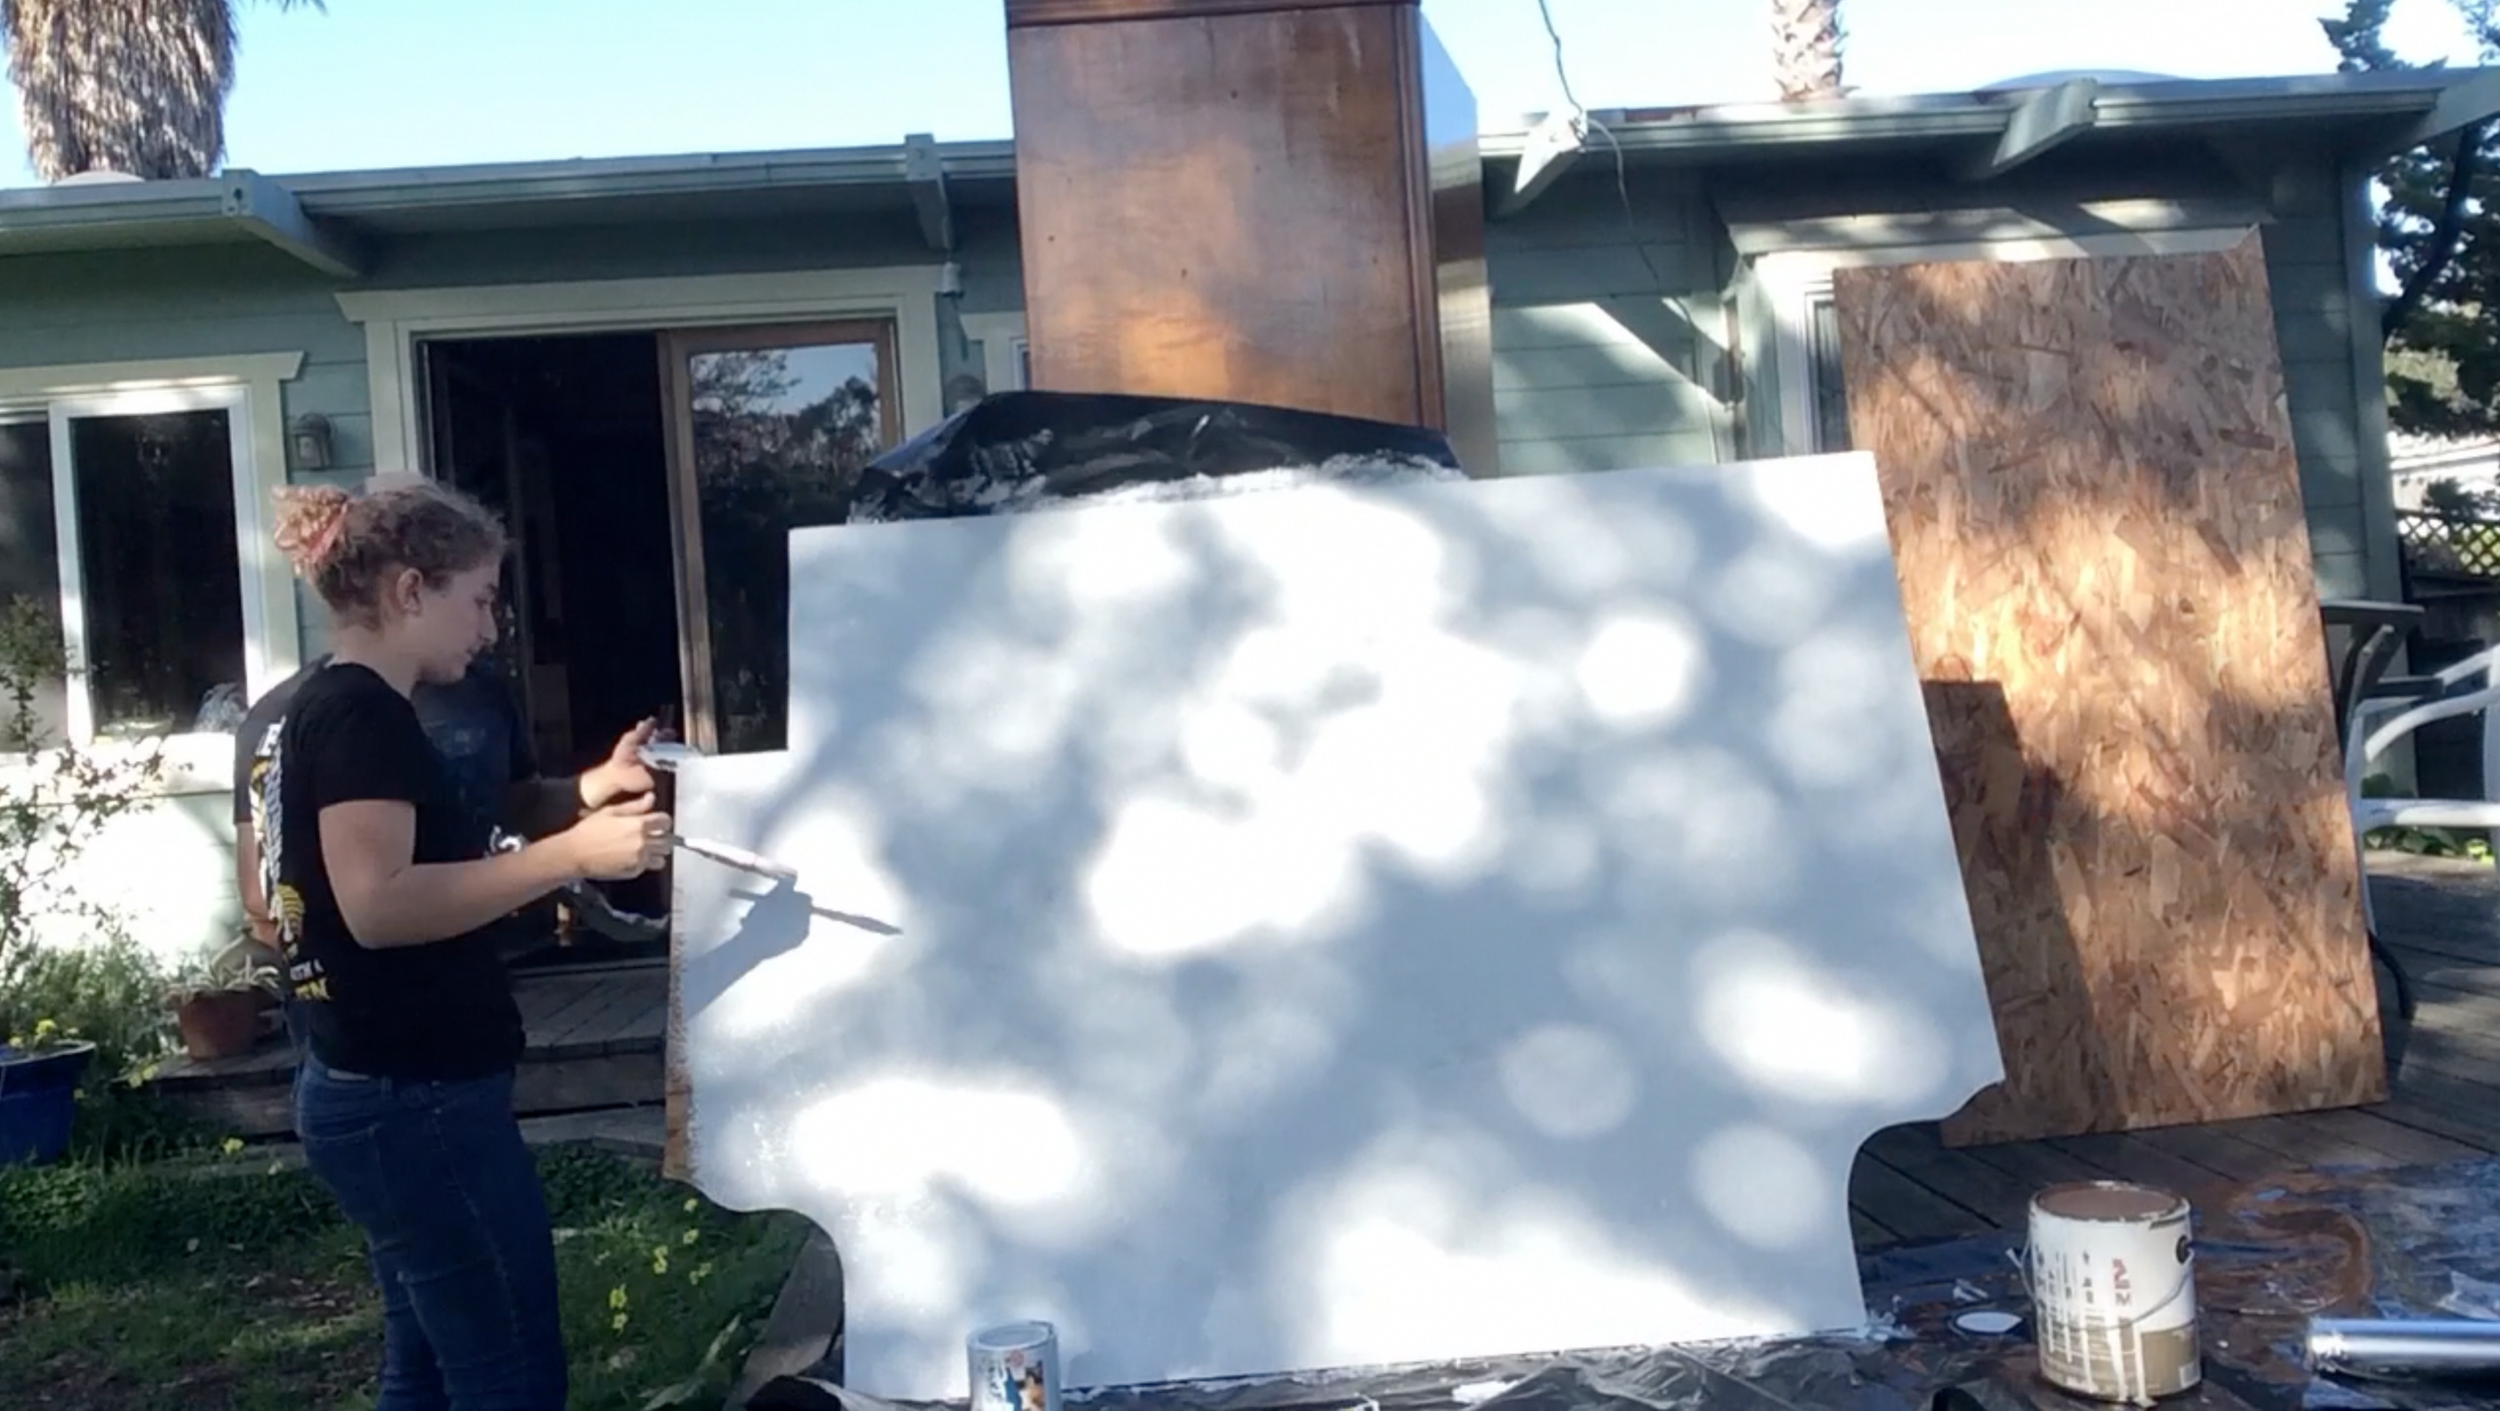
Painting the OSB to seal it
Step 7: Try to level the floor. The metal van floor has a lot of grooves in it and even with the duct insulation and the moisture barrier, it is still not quite level. We did our best to level the low spots with sections of wood from the original subflooring.
Step 8: Lay down the subflooring (don't forget to gorilla tape around the edges).
Step 9: Lay down the Underlayment and tape around the edges.

Step 10: Snap together the tongue in groove laminate flooring. Like any tongue in groove system this was a bit of a pain in the ass. Especially since cutting the flooring to fit around the wheel wells is a bit more maddening than I expected. When we put the flooring together we staggered the boards so there would never be one continuous seam running the length of the floor. The best advice I can give you is connect the whole thing, lay down the old subfloor, trace around that and then cut to fit. You will have to take it apart again before you instal it in the van.

Subflooring in process of being installed

So tired of flooring
Conclusion
So we probably went overkill with the number of moisture barriers and subfloor systems we used, but the floor is one of the only things in the van I never have any issue with. It's solid, doesn't crack, is pretty quiet to walk on, is easy to clean, and looks freaking awesome.
One of the things people ask me when watching the full build out video is, "Why didn't you put the hardwood flooring on the entire van?" The simplest answer is that we were trying to save weight. Everything you put into the van is going to weigh something, and since we weren't going to ever see the back floor because of the shelves and storage, we thought it would be a great way to save some money and weight.