This is the hardest step of building out a van!
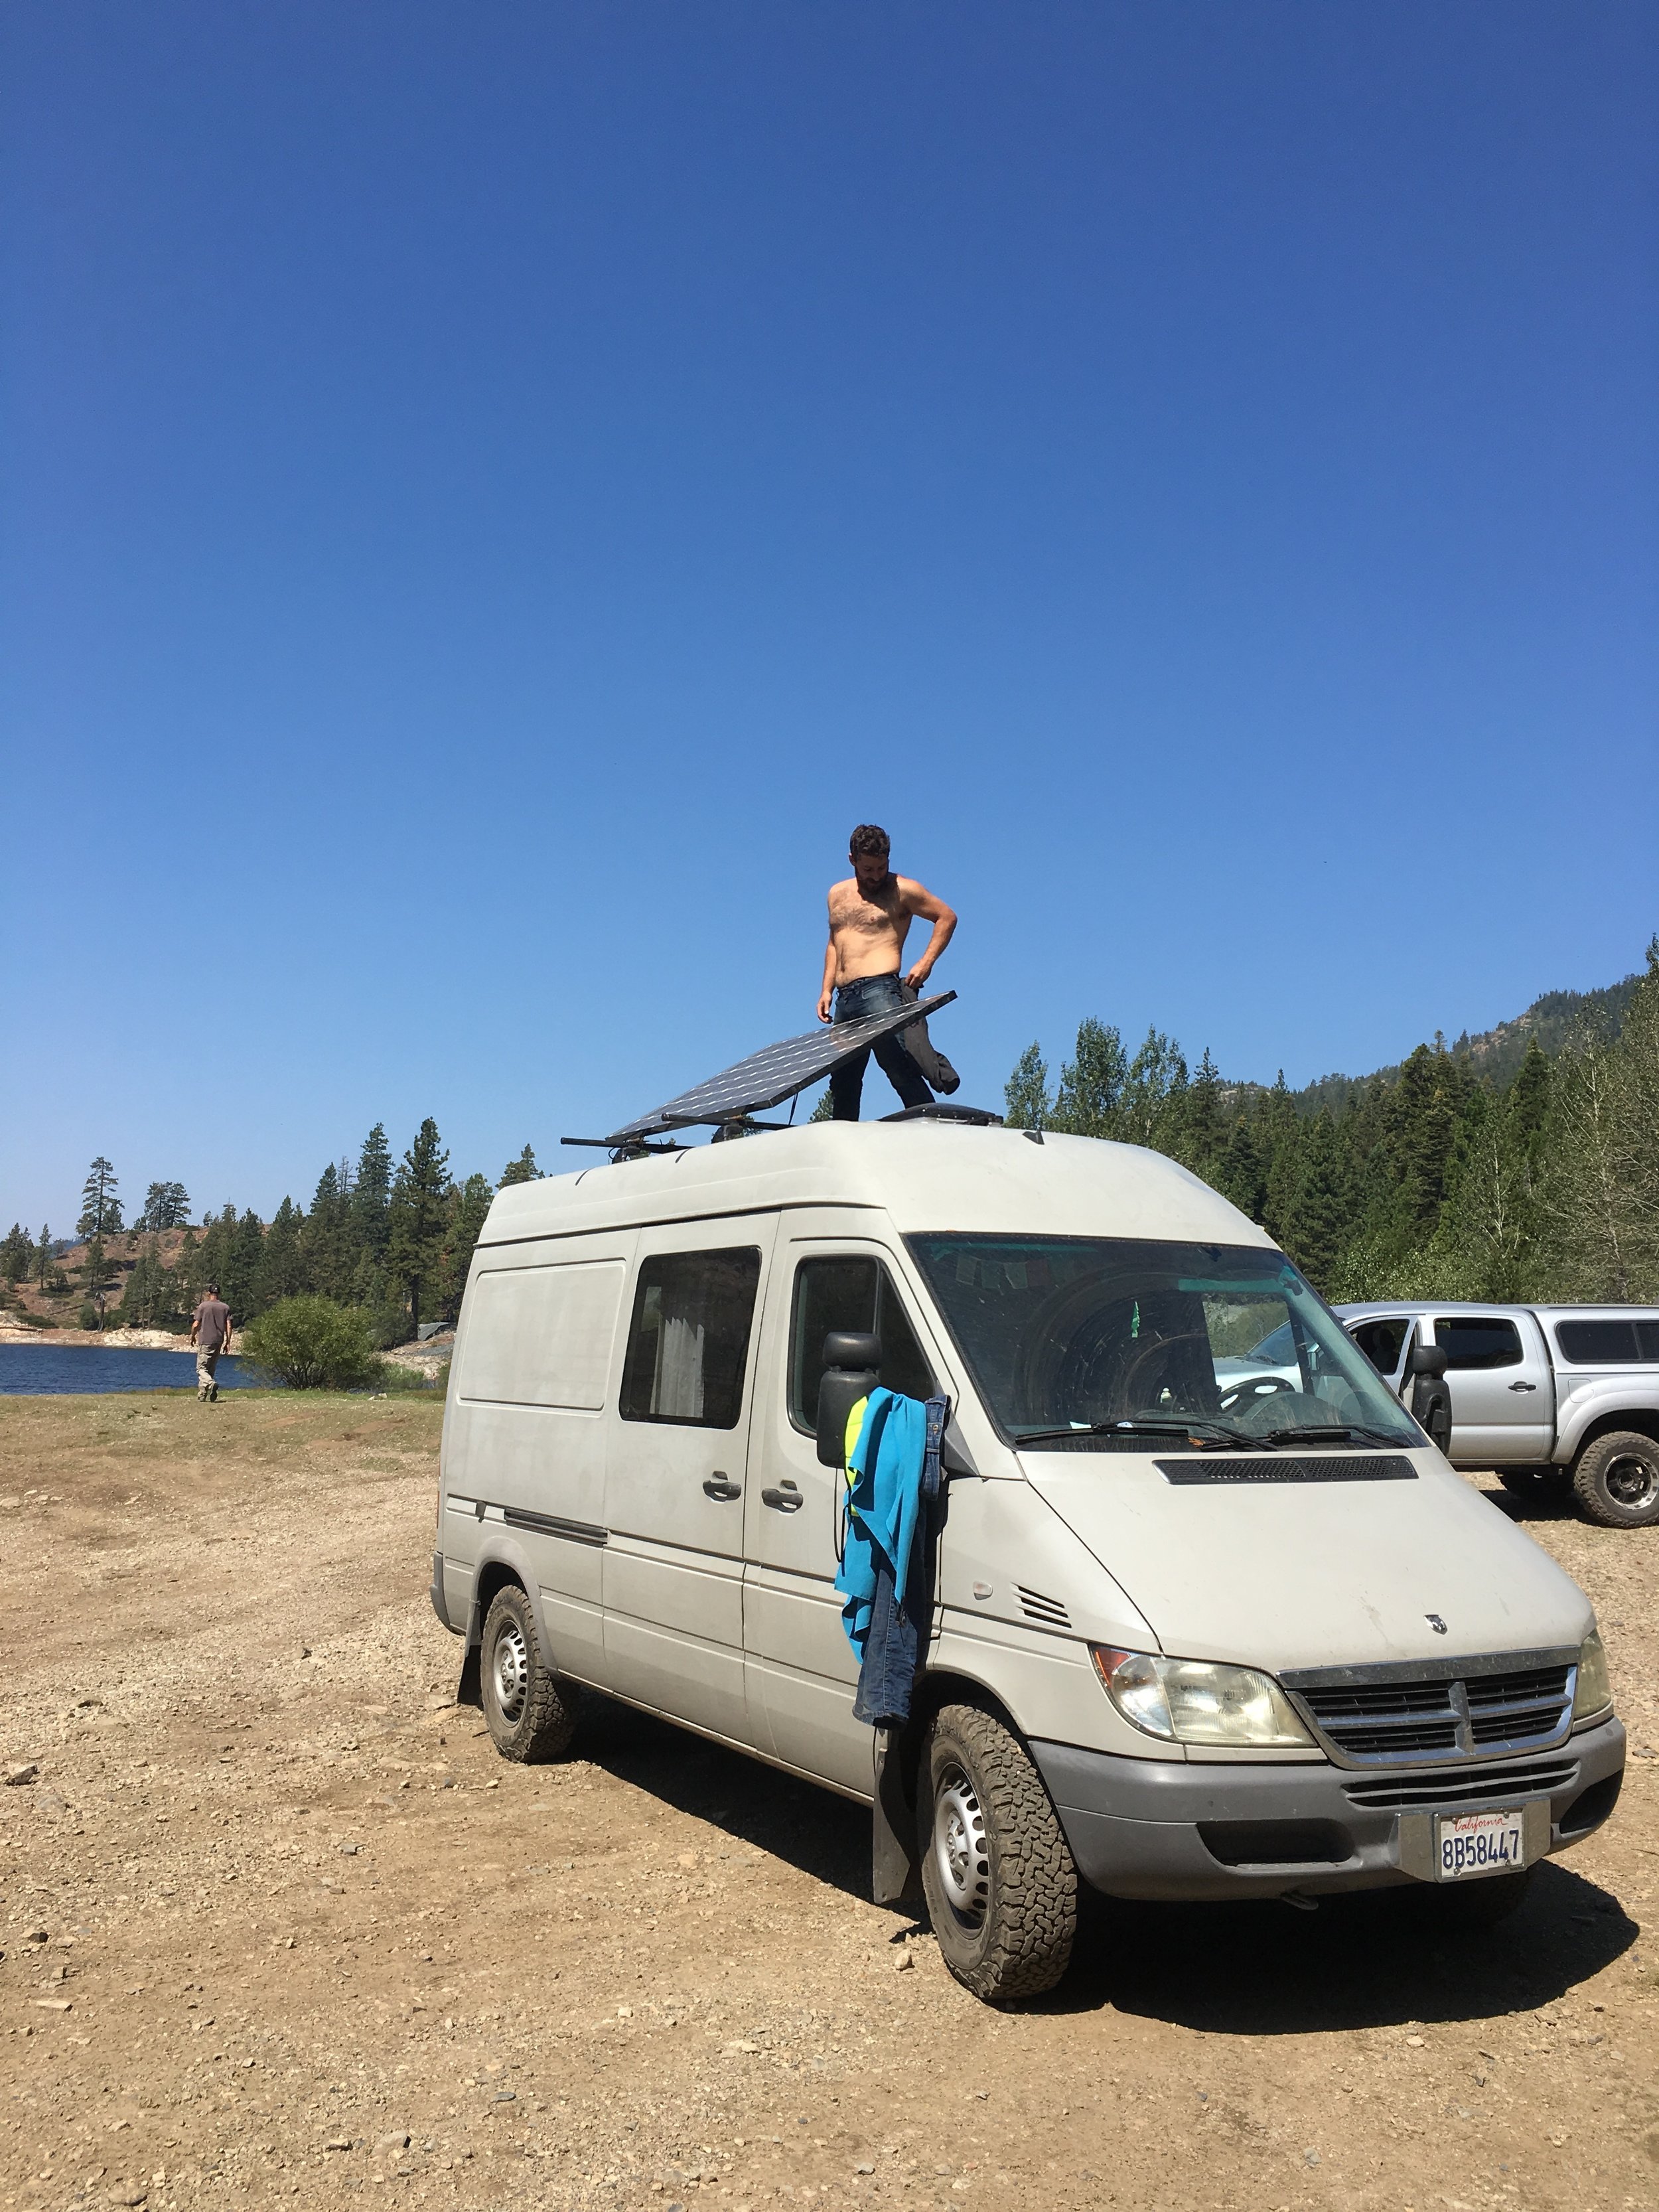
My beer is cold at the end of the day because of the power of the sun.
I love that. I love that so much. Having a solar panel and running a battery bank off it is amazing. It saves a lot of money, it's quiet, and it's renewable! Getting the electrical set up in the van was the most expensive and difficult part about building out a van, but 100% worth it. I wouldn't recommend skimping on expenses during this stage. Having a system that is expensive and works is way better than having a system that is cheaper, but could break down/explode during your travels.
Want to just hire someone to do this for you? Email Ben Valentine at BenValentineDesign@gmail.com!
Materials Used
**Product Recall** This product is no longer available, but I’m linking to it here so you can find one that works for you.
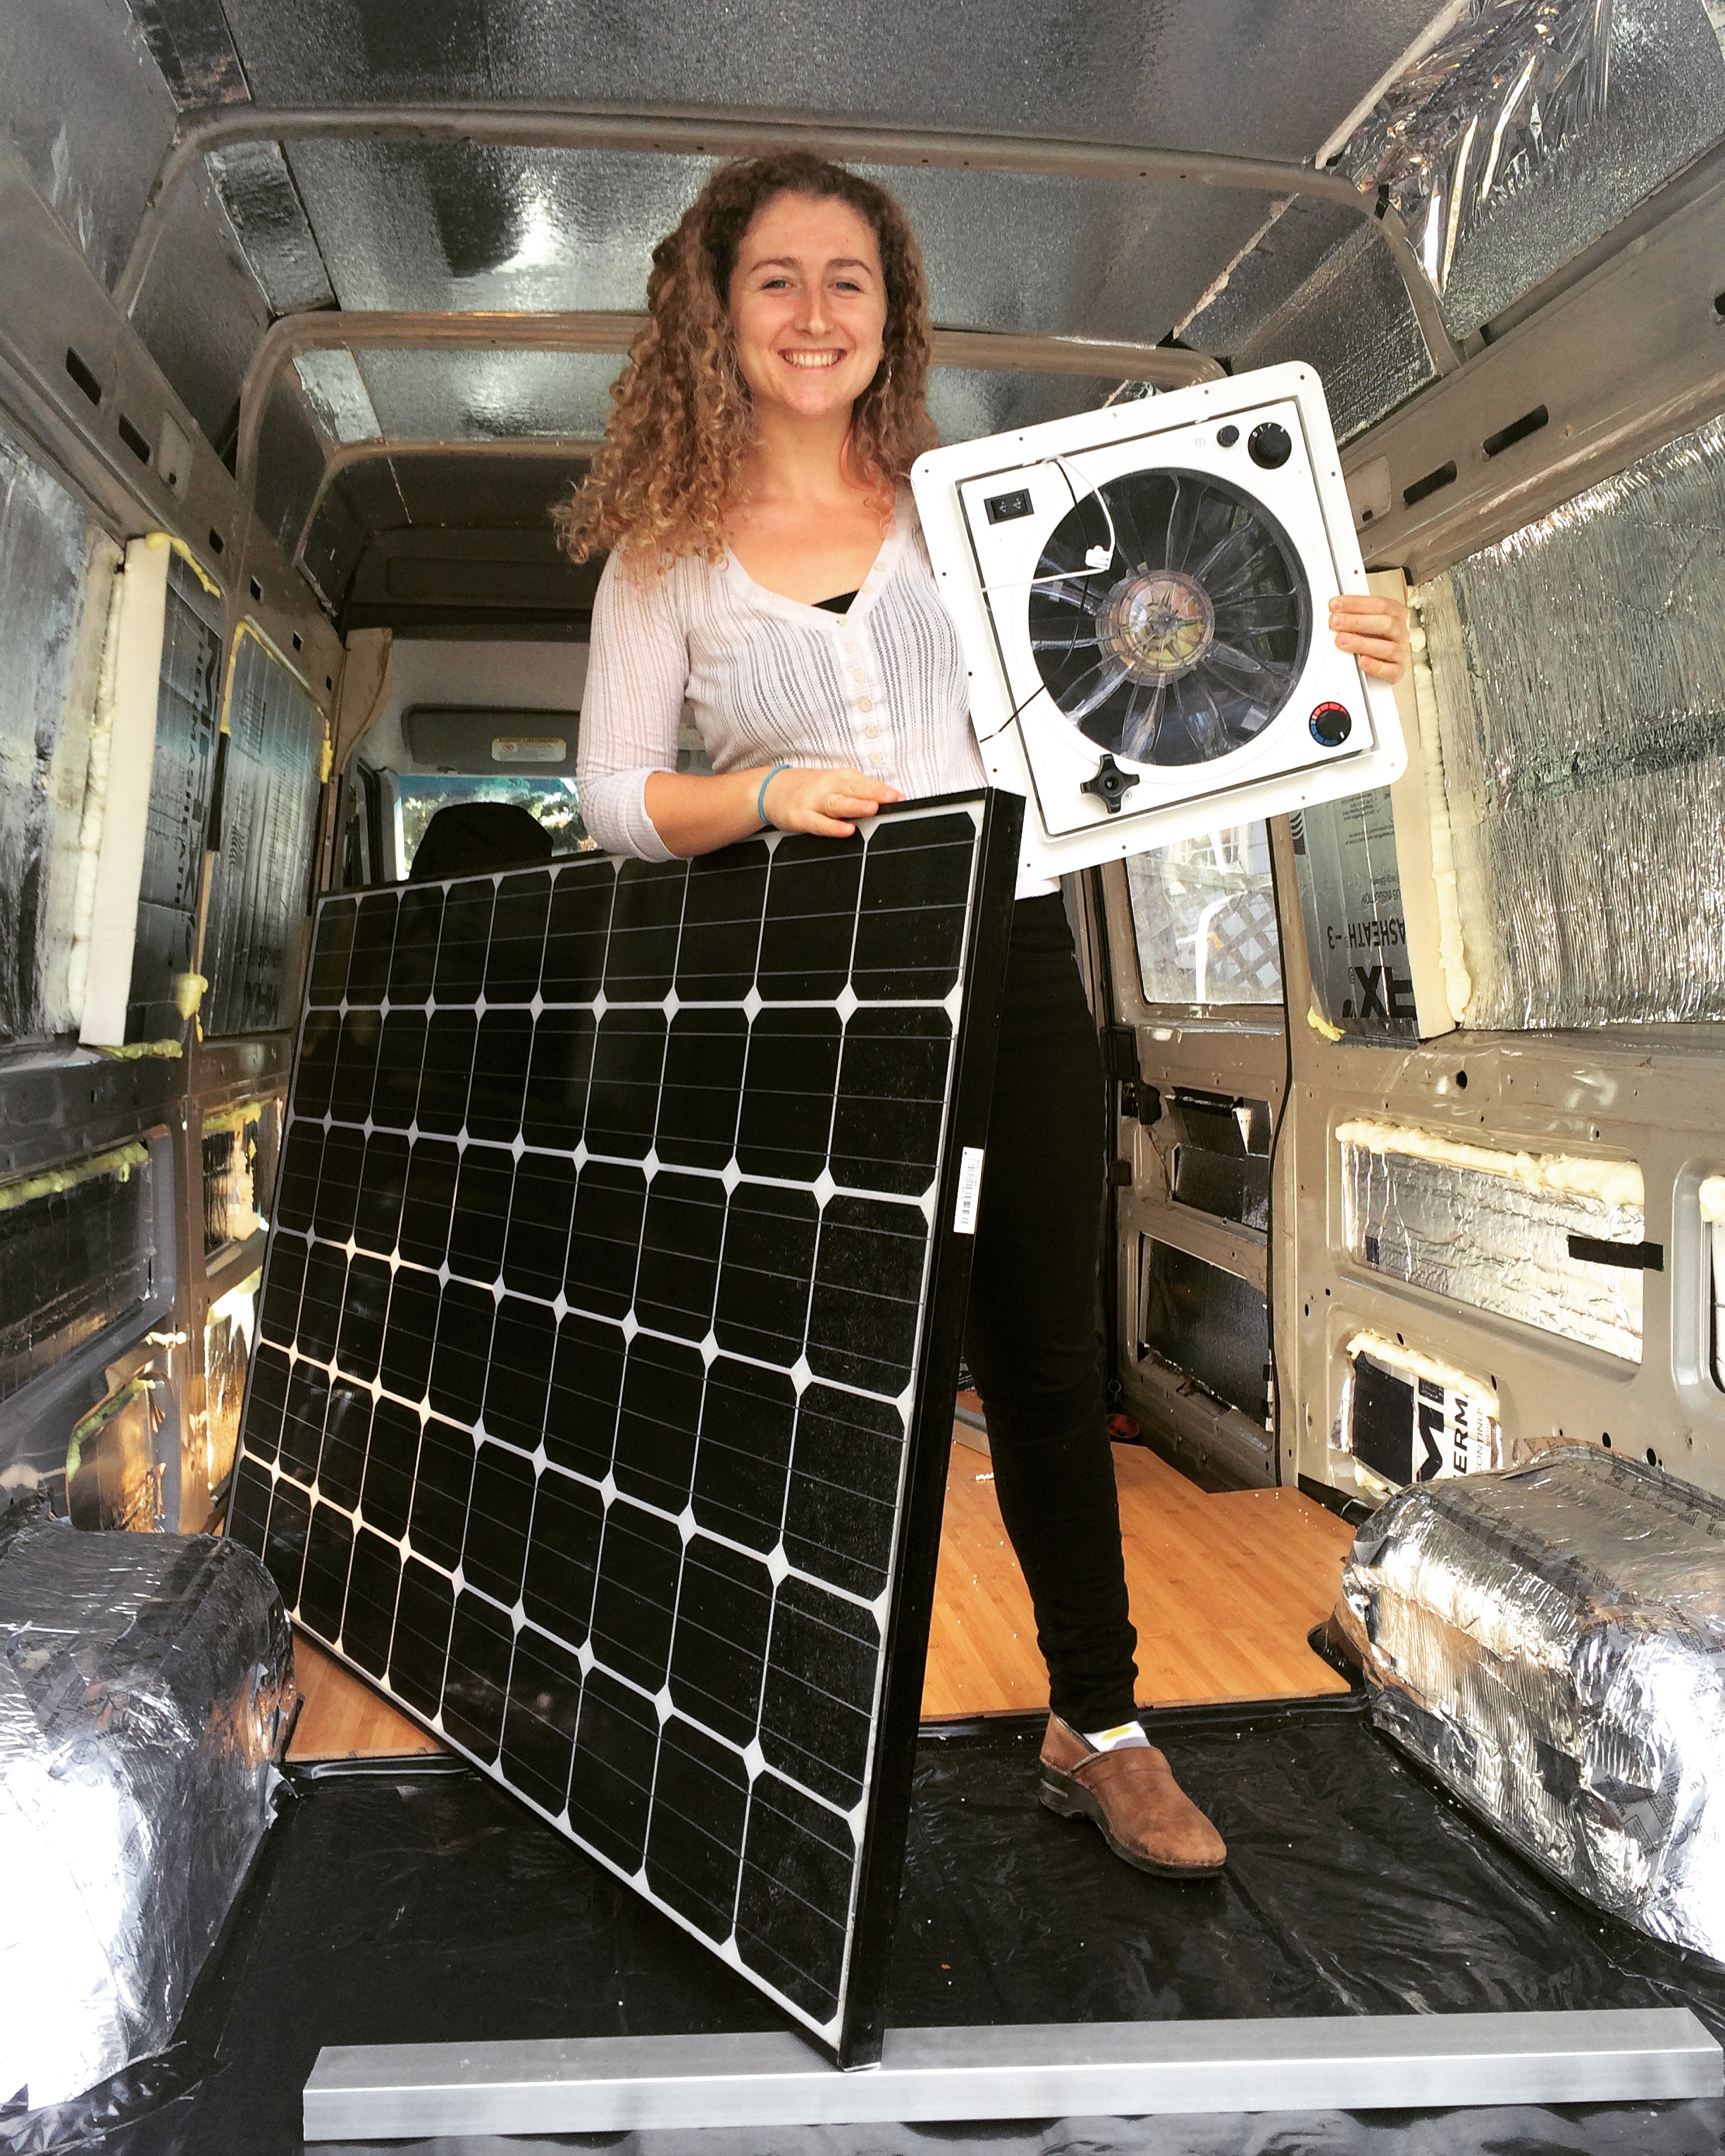
The solar panel we got is linked here: http://bit.ly/2avhxvR
However we purchased ours second hand from a friend, there are similar panels here
Roof Racks
Also included in the roof rack was the 42" tracks! http://bit.ly/2oxa2wp
Additional Materials
The only thing I couldn't find on Amazon was the LED lights we used, which can be found here - http://bit.ly/2atwOR
Process
Step 1: Mount the Solar Panel. Before we could do anything else we installed roof racks. The instructions included in the box are super helpful, but for visuals sake we did the following.

Line up the tracks and mark your holes

Funny shaped plus nuts go in the holes you drilled to secure the tracks down

Drill holes and paint around the edges to prevent rust
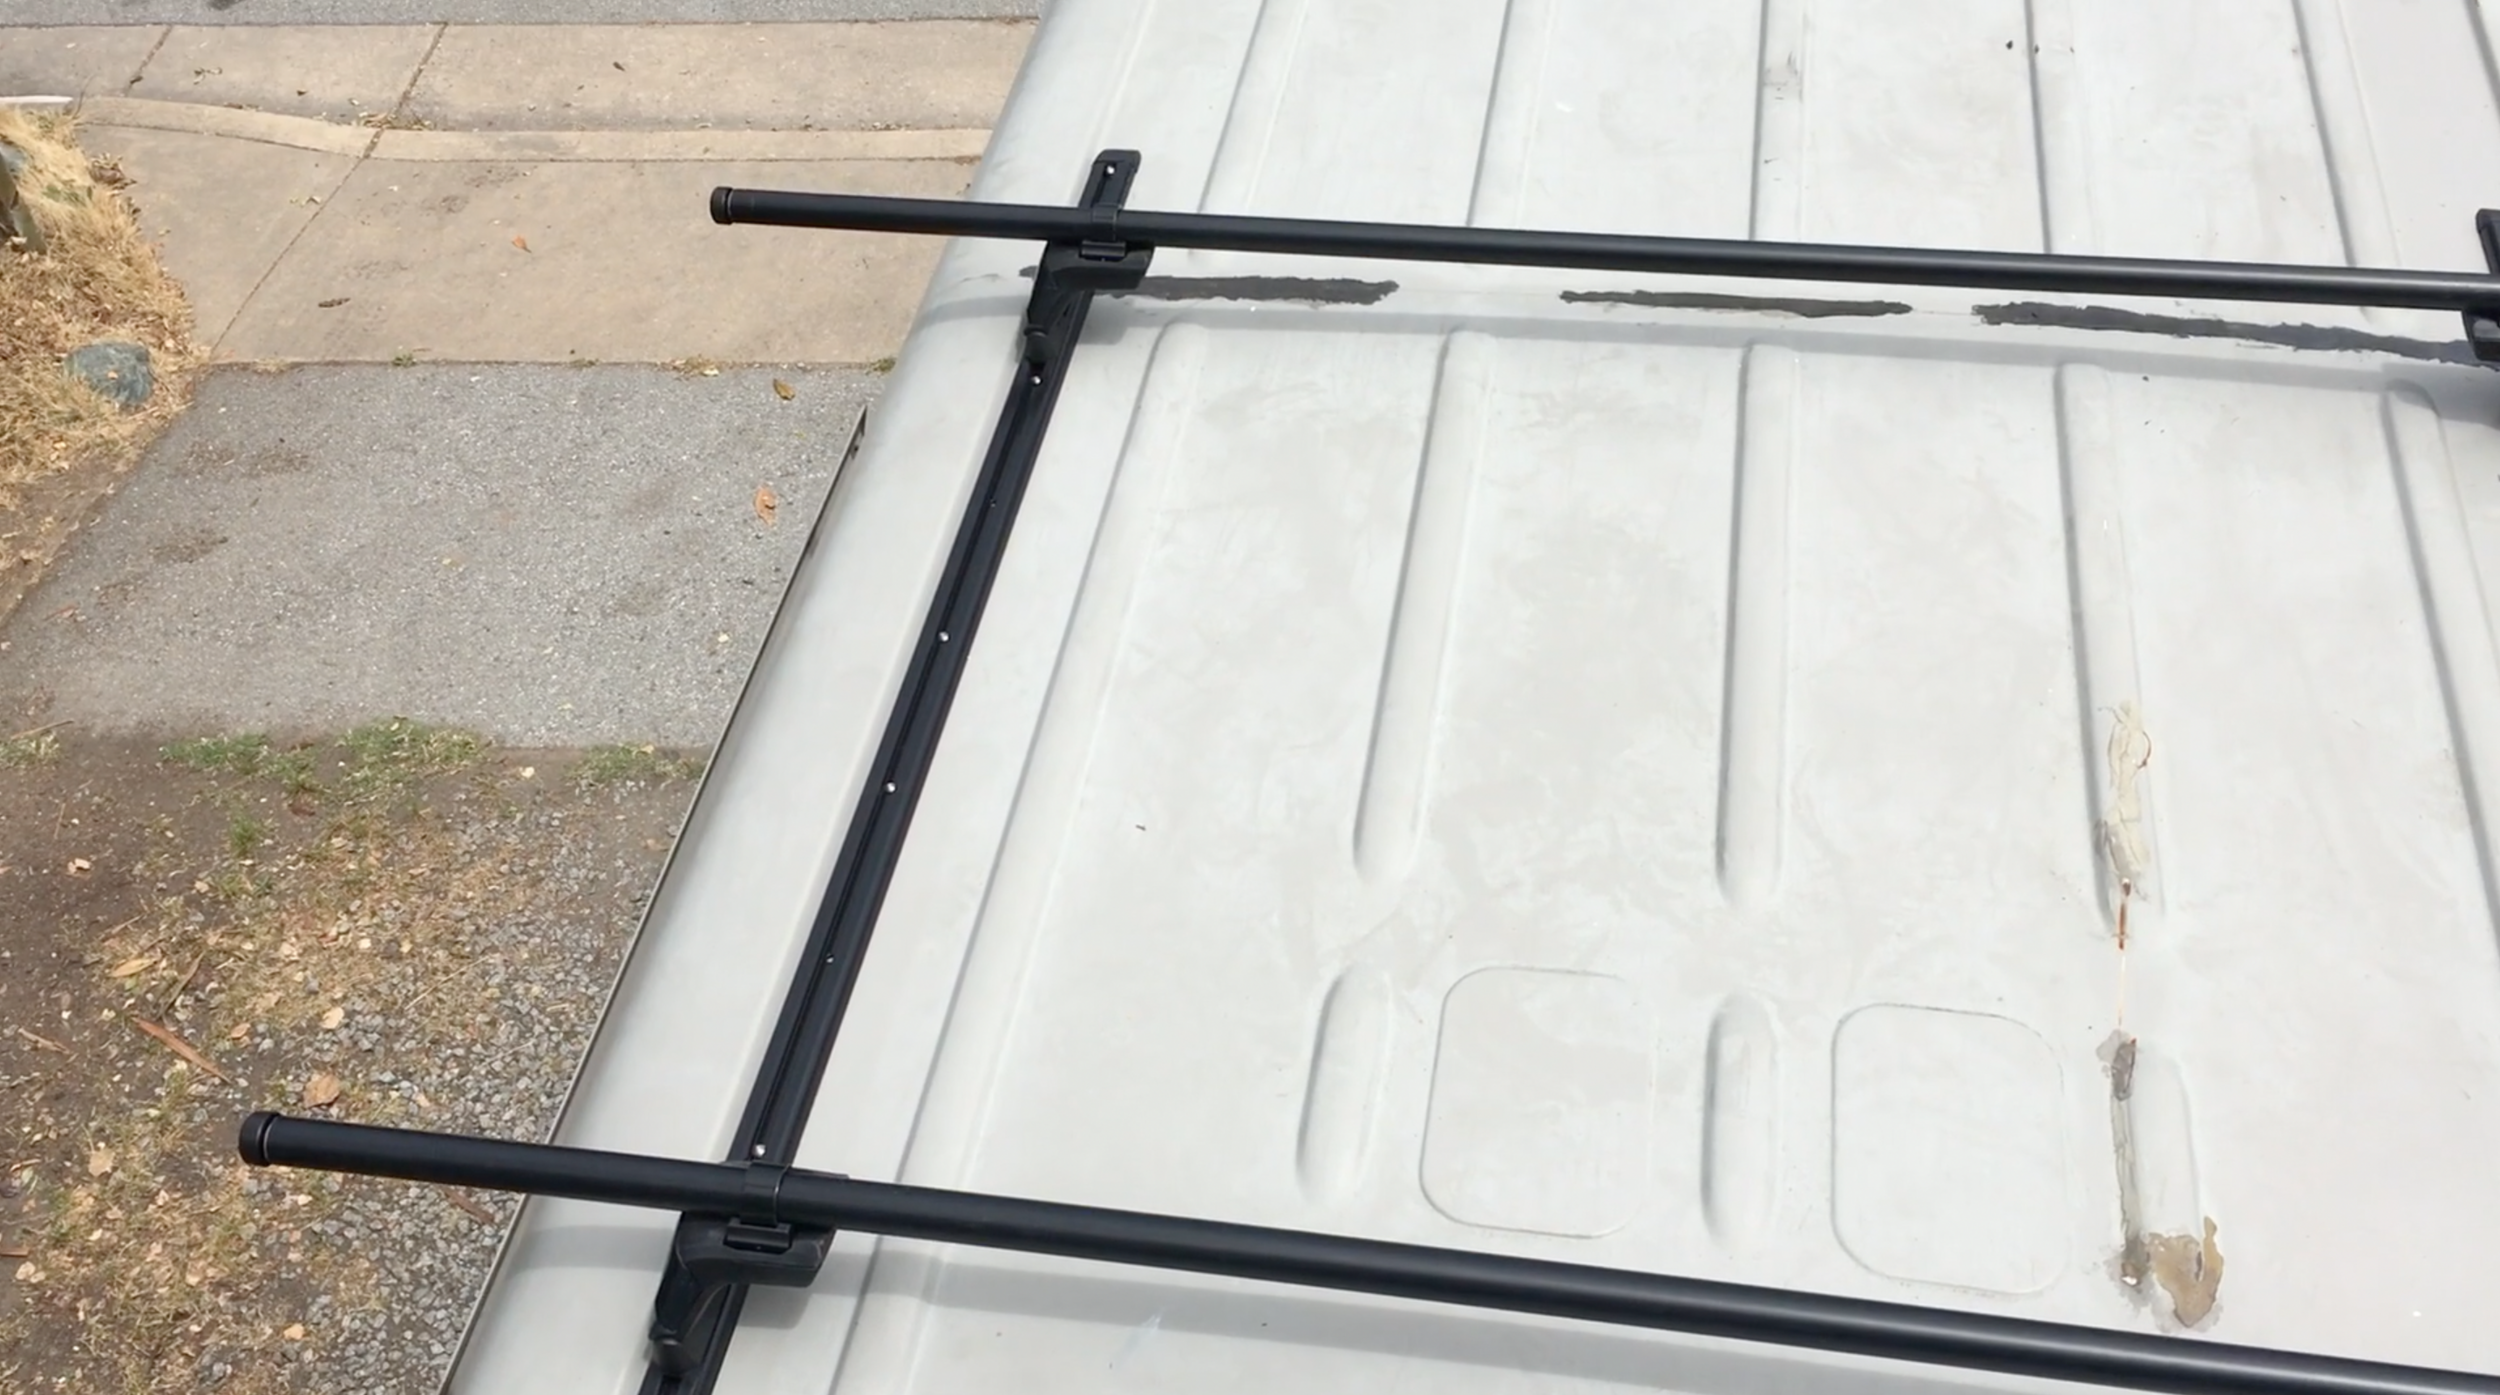
Attach the Skyline towers and the cross bars to finish the install
Step 2: Run the wires. Running the wires means you need to have a bit of foresight about where you want things to go. This includes the fridge, sink pump (if electric), lights, batteries, outlets and breaker box.
Step 3: Cut more holes in the van. *sigh* It never ends. Make sure you've planed out exactly where the wires are going to go and how many you need to fit through all of the holes you drill. We kept having to widen our holes as we realized we needed to run more wire. To protect the hole between the solar panel (outside the van) and the wires on the inside of the van we used a Myers Hub and a Cord Grip.
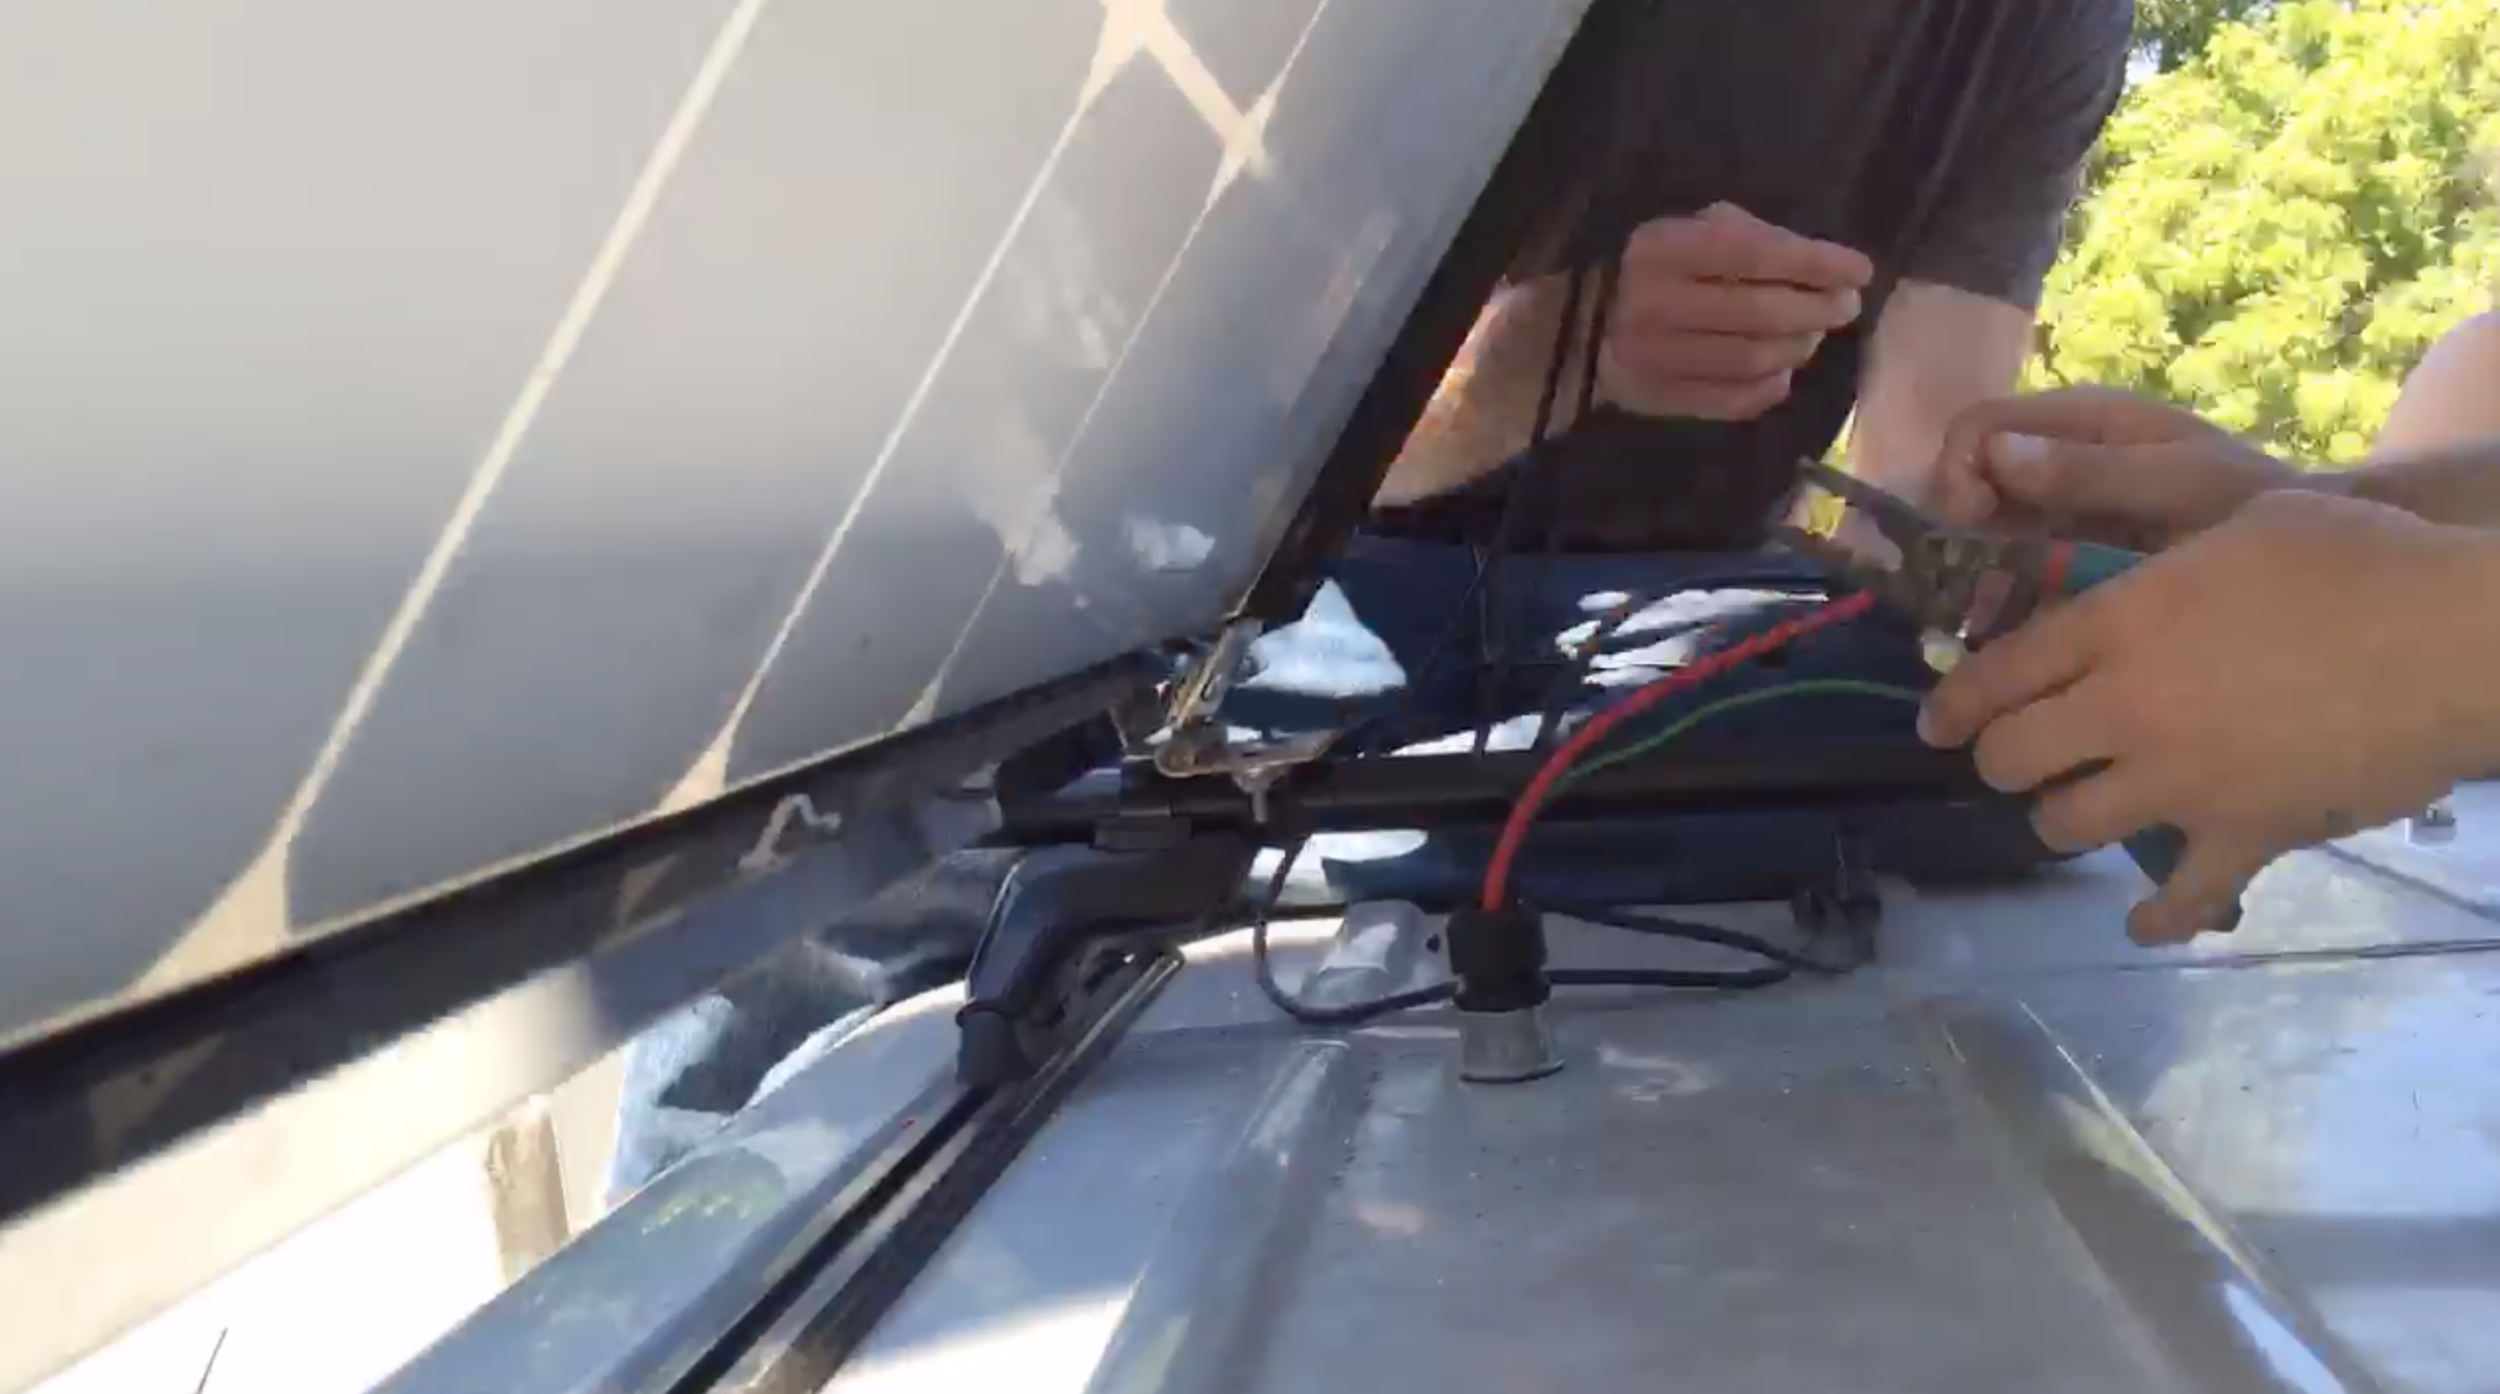
Sorry for the poor image quality. This is the wire set up on the roof.

We drilled straight through one of the supporting ribs in the van roof...
Step 4: Put together the breaker box. Unfortunately this is the one step I can't help you with. Michael and I had a really good friend who helped us out with the install and he does this for a living. However, this is a picture of the PV system set up, so if you are electrically inclined it should help you with the build out. If you are doing this on your own, know that each system will be different depending on what kind of power set up you are going to need. I know some people who don't want anything but lights and some people who want a vitamix for their breakfasts. One will draw substantially more power than the other.
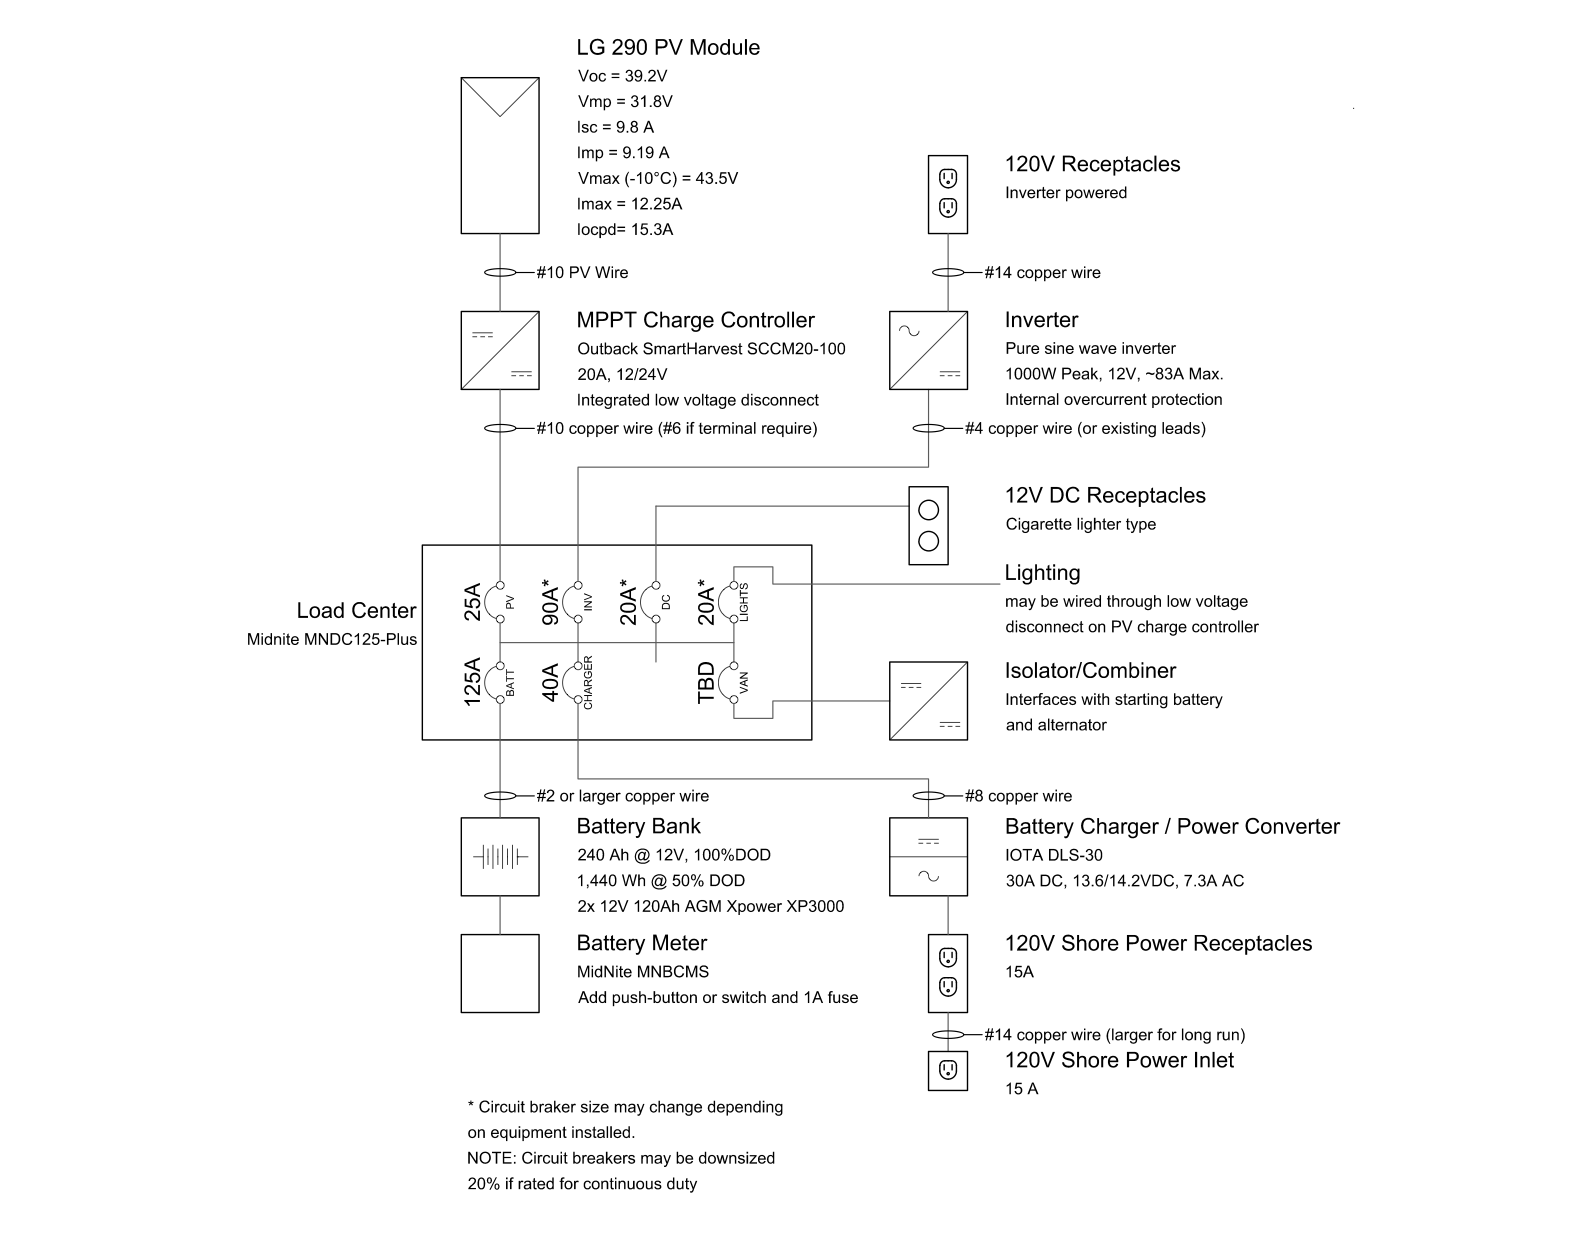
Wire used #2 copper wire, #4 copper wire, #8 copper wire, #10 copper wire and #14 copper wire. All of these were solid core except the #2.
And here are a few photos of the breaker box set up for reference!
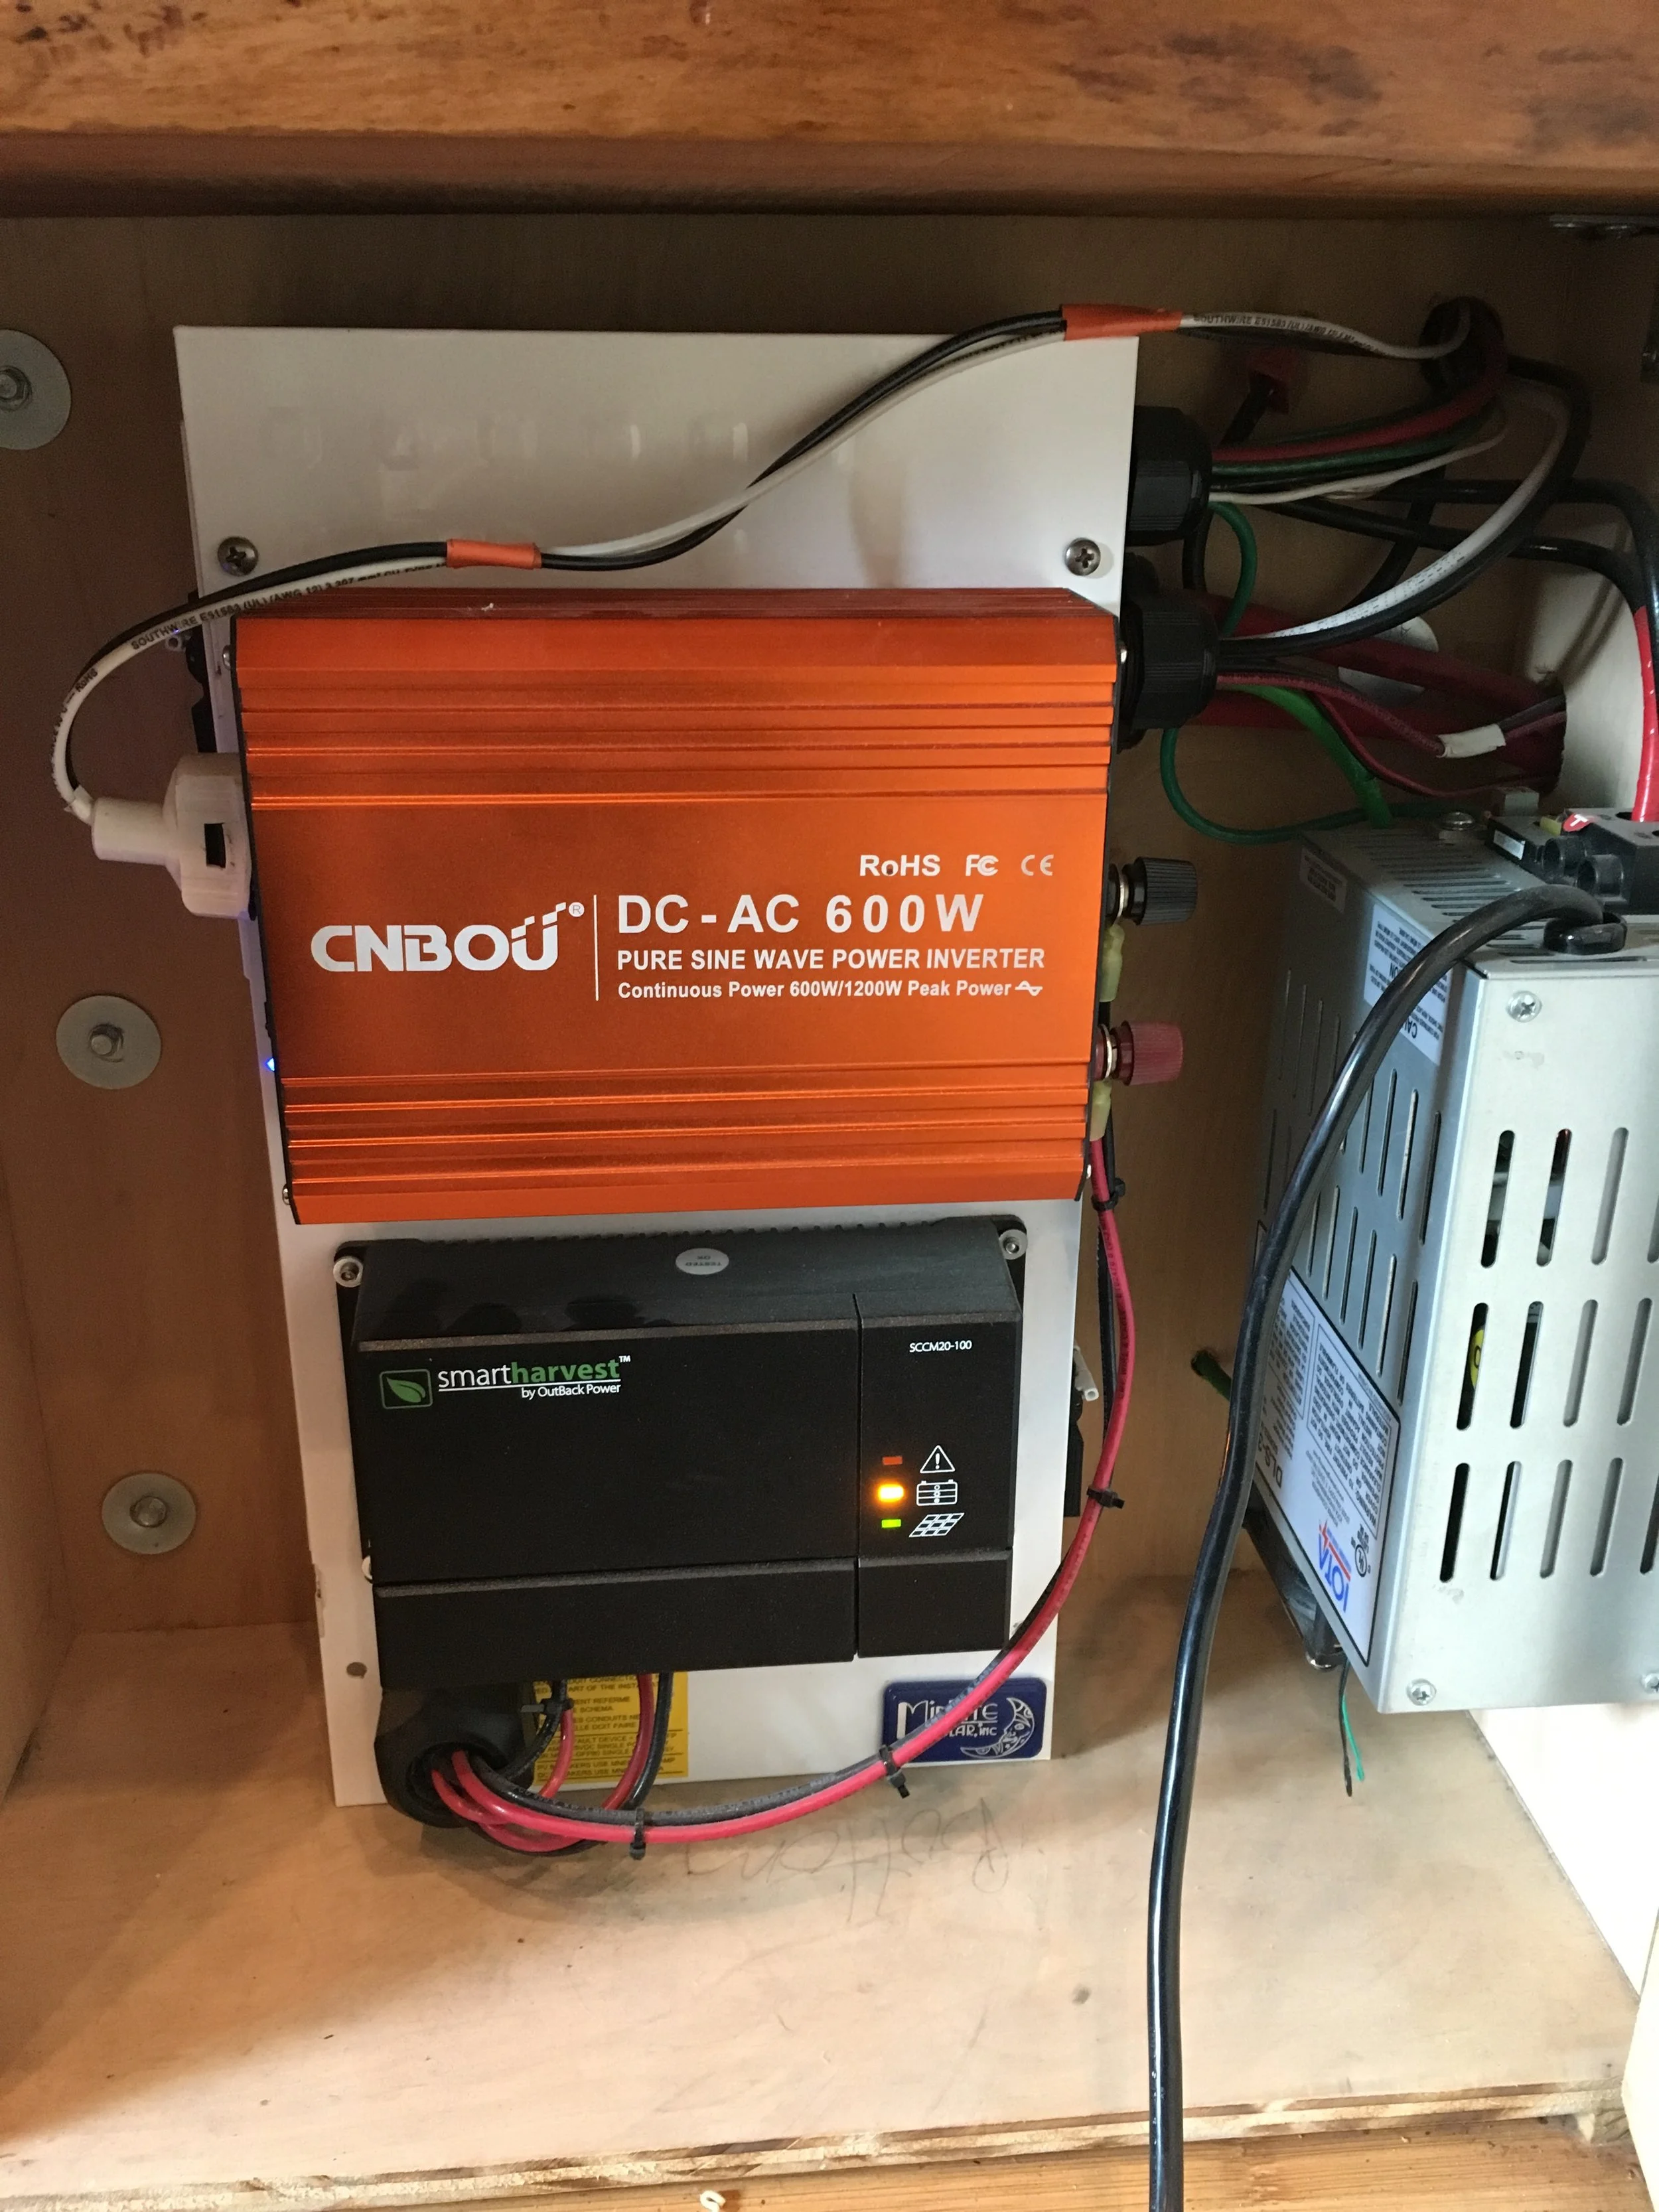
The Inverter and the Charge Controller are mounted on the front of the breaker box

The guts of the whole system

Battery charger mounts on the side of the whole system
Step 5: Install the lights. Our lights are LED warm white lights that have a super low profile. That was key. Having nice lighting really changes how you experience your van. I've recently spent time in a friends build out, and her lighting is harsh white, it makes it much more uncomfortable to hang out there. We ran the wire for the lights, then installed the roof, used a circle saw to cut out the right sized hole, and then used butt splices to connect the wires coming from the lights to the wires in the system.
Step 6: Connect the batteries and test the whole system!
Conclusion
The electrical step is the hardest, most expensive step and I think a lot of people feel really out of there element when it comes to this. My advice is to make it as simple as possible, ask around for friends who can help, and if no one can help then hire a professional. This is a super important step you don't want to mess up!