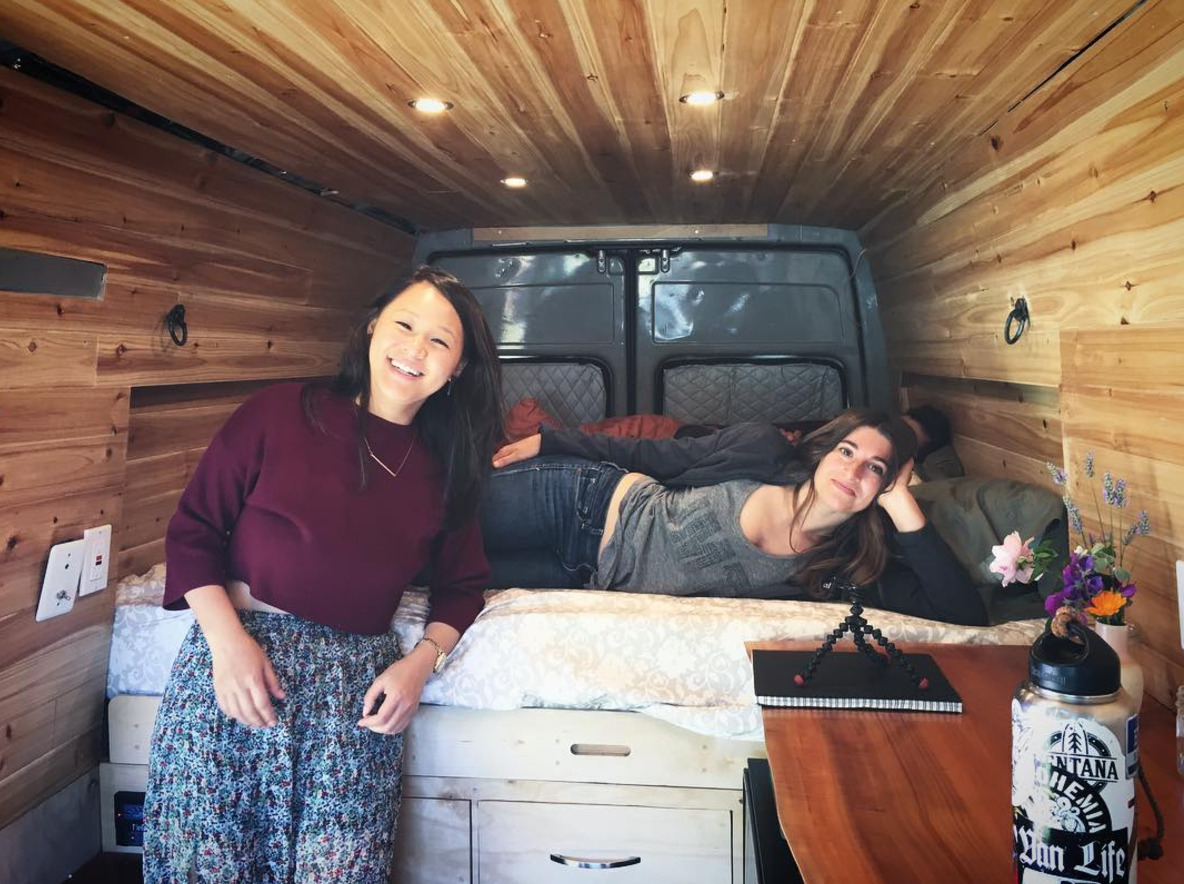
This is when the van really starts to feel like a house.
Building out the bed frame and cabinets is so rewarding because you finally feel like it's starting to come together as a home. The bed frame especially makes it feel homey since you can start to imagine where you'll be sleeping! This step is also surprisingly expensive unless you have a lot of spare wood lying around. We were able to reuse some old wood, but needed to buy a lot of sturdy stuff for the cabinets.
Materials Used
Wood Materials

Making another plywood run!

Recycled wood we had lying around, make good use of the resources you have!
Plywood 3/4" - http://thd.co/1QfN5Ud
Plywood 1/2" - http://thd.co/2a7IgMM
Plywood 1/2" - http://thd.co/2a7IgMM
2x4's - http://thd.co/2ar5BNv
Additional Materials
Process
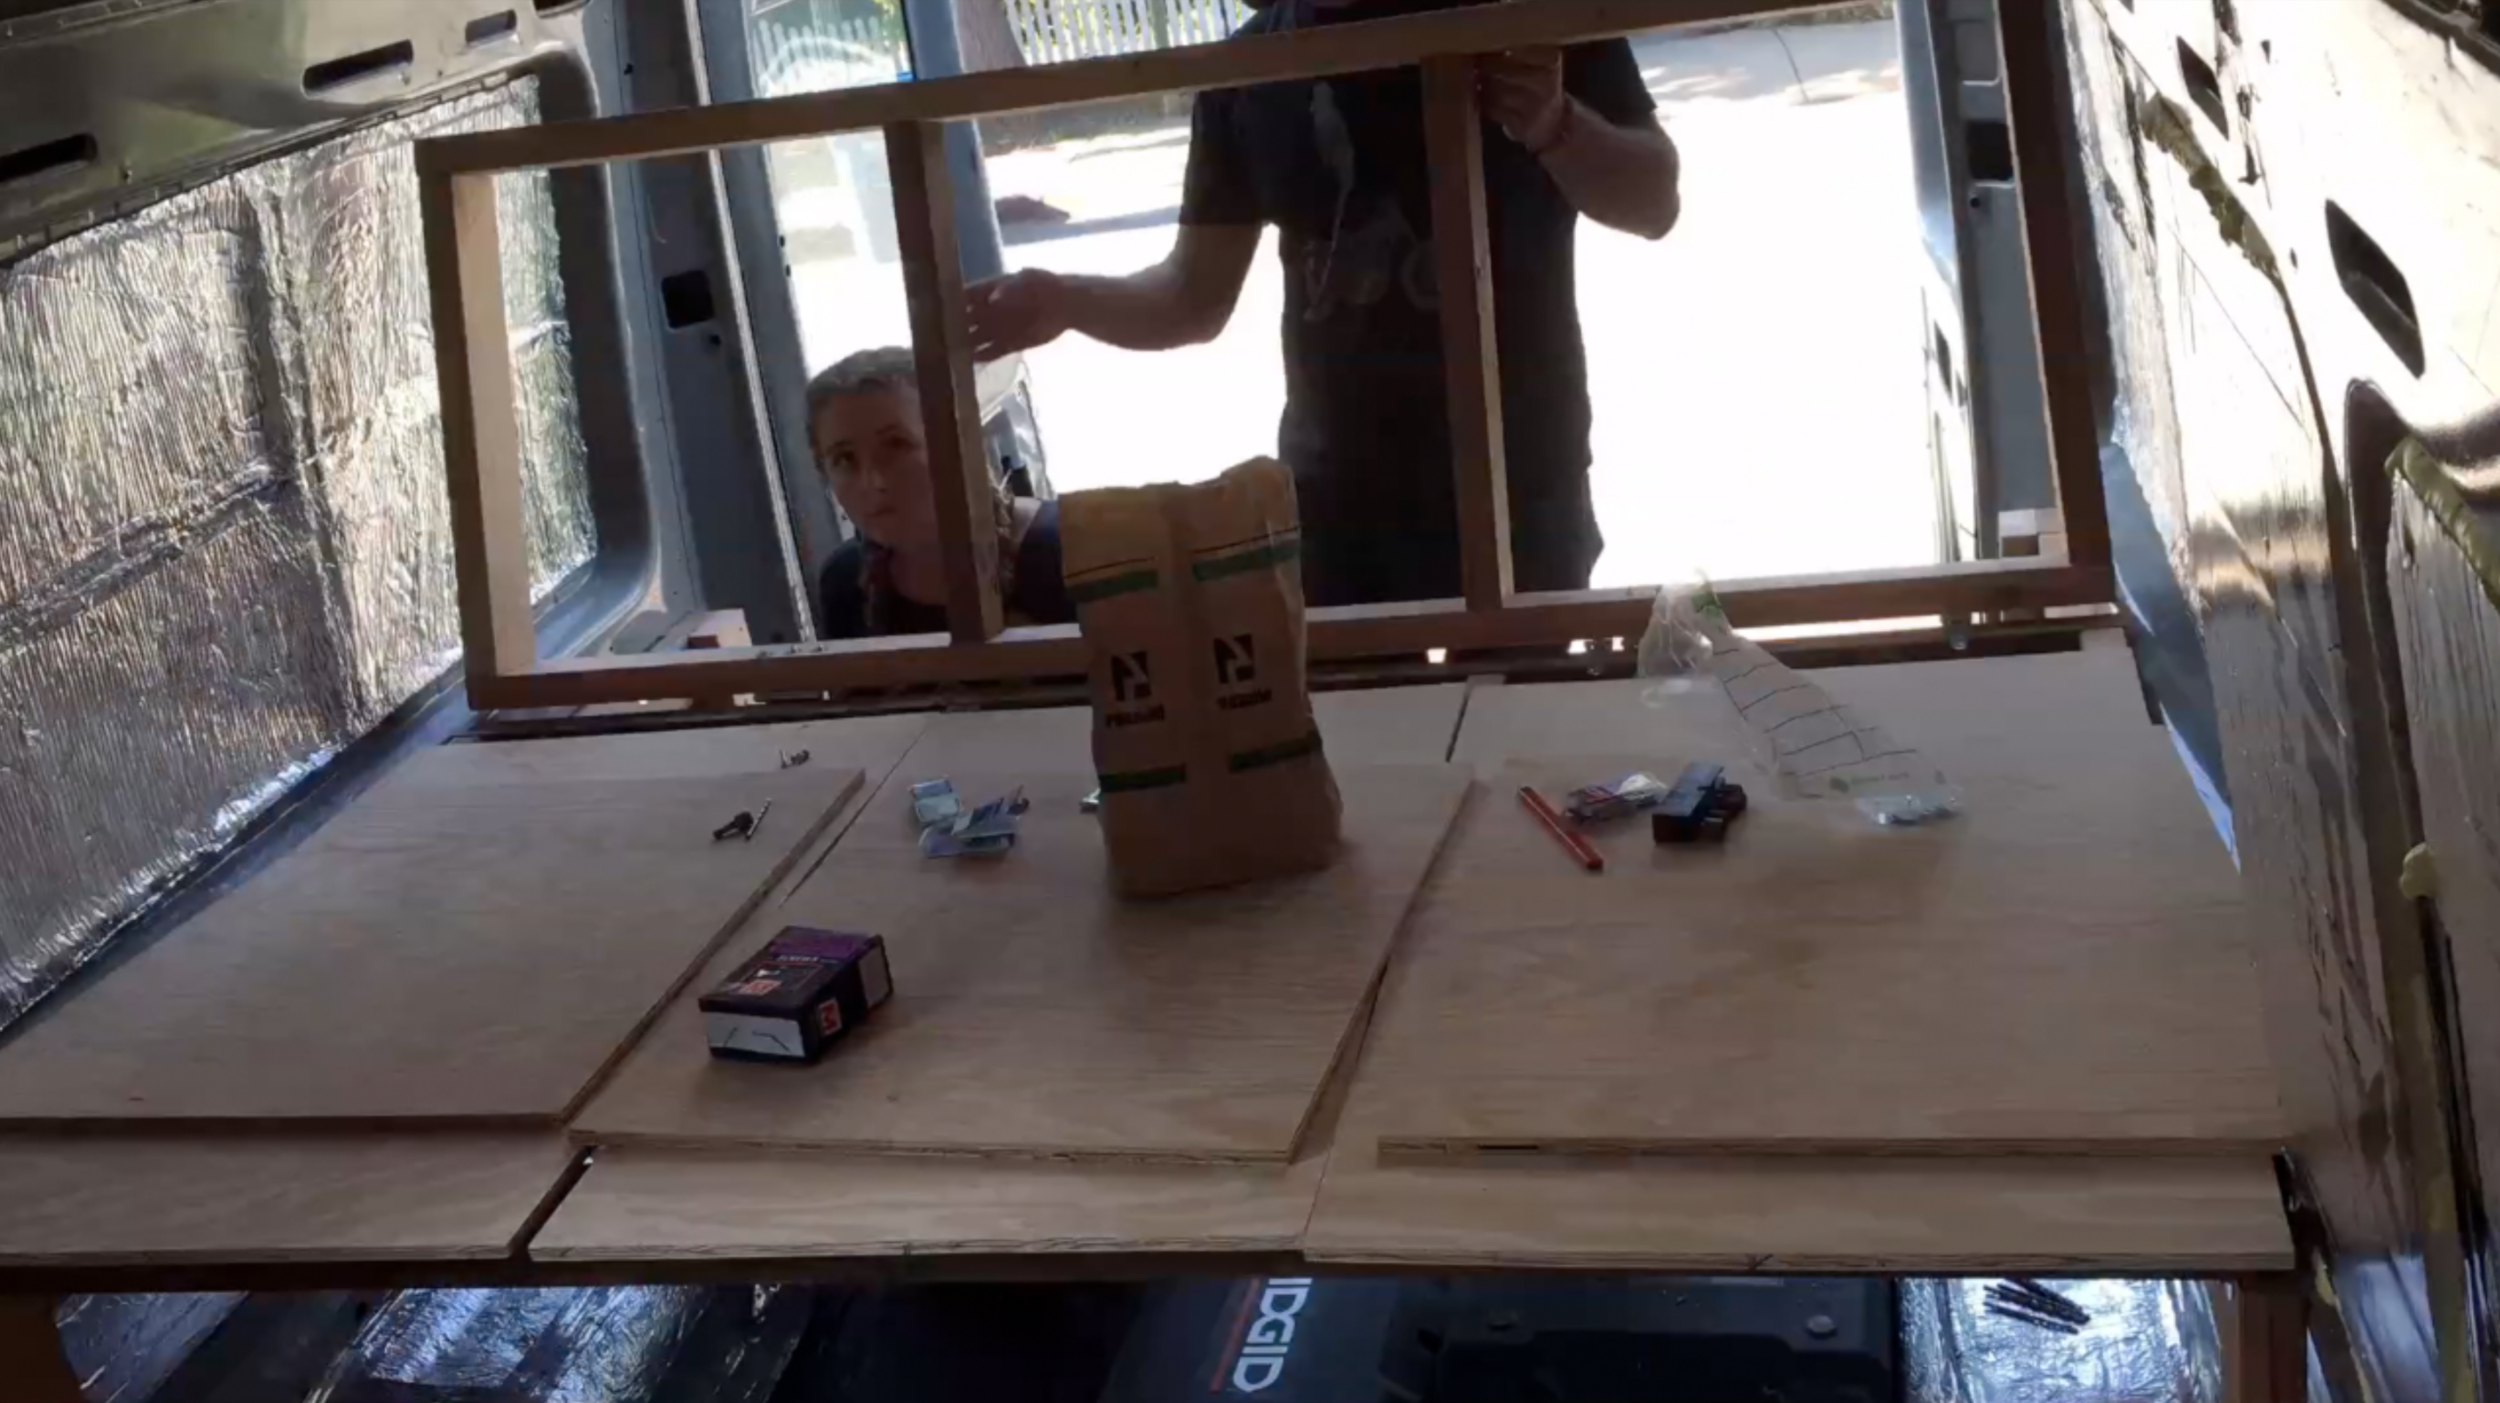
Step 1: Plan out where things are going to go in your van. When you are building out the inside of the van you need to know where you counter top will be, what kind of storage you want, how high you want your bed to be, and where the large appliances will go. Things to consider in this step: Fridge, water storage (clean and gray water tanks?), kitchen set up (colman stove vs. built in stove top), bed size and height, storage in the front and back of the van, etc.

This was the design Michael and I planned out, it's not exactly what we went with but this is a really good first draft.
Step 2: Start with the base of the bed. We knew that the bed would be the easier of the things to build so we started with that. The bed frame is screwed directly to the body of the van. We pre drilled holes (in the wood, not the metal) and made generous use of fender washers to prevent the frame from moving. The base is entirely made out of 2x4's.

Screwing in the bed frame supports

Getting the floating bed frame in the van
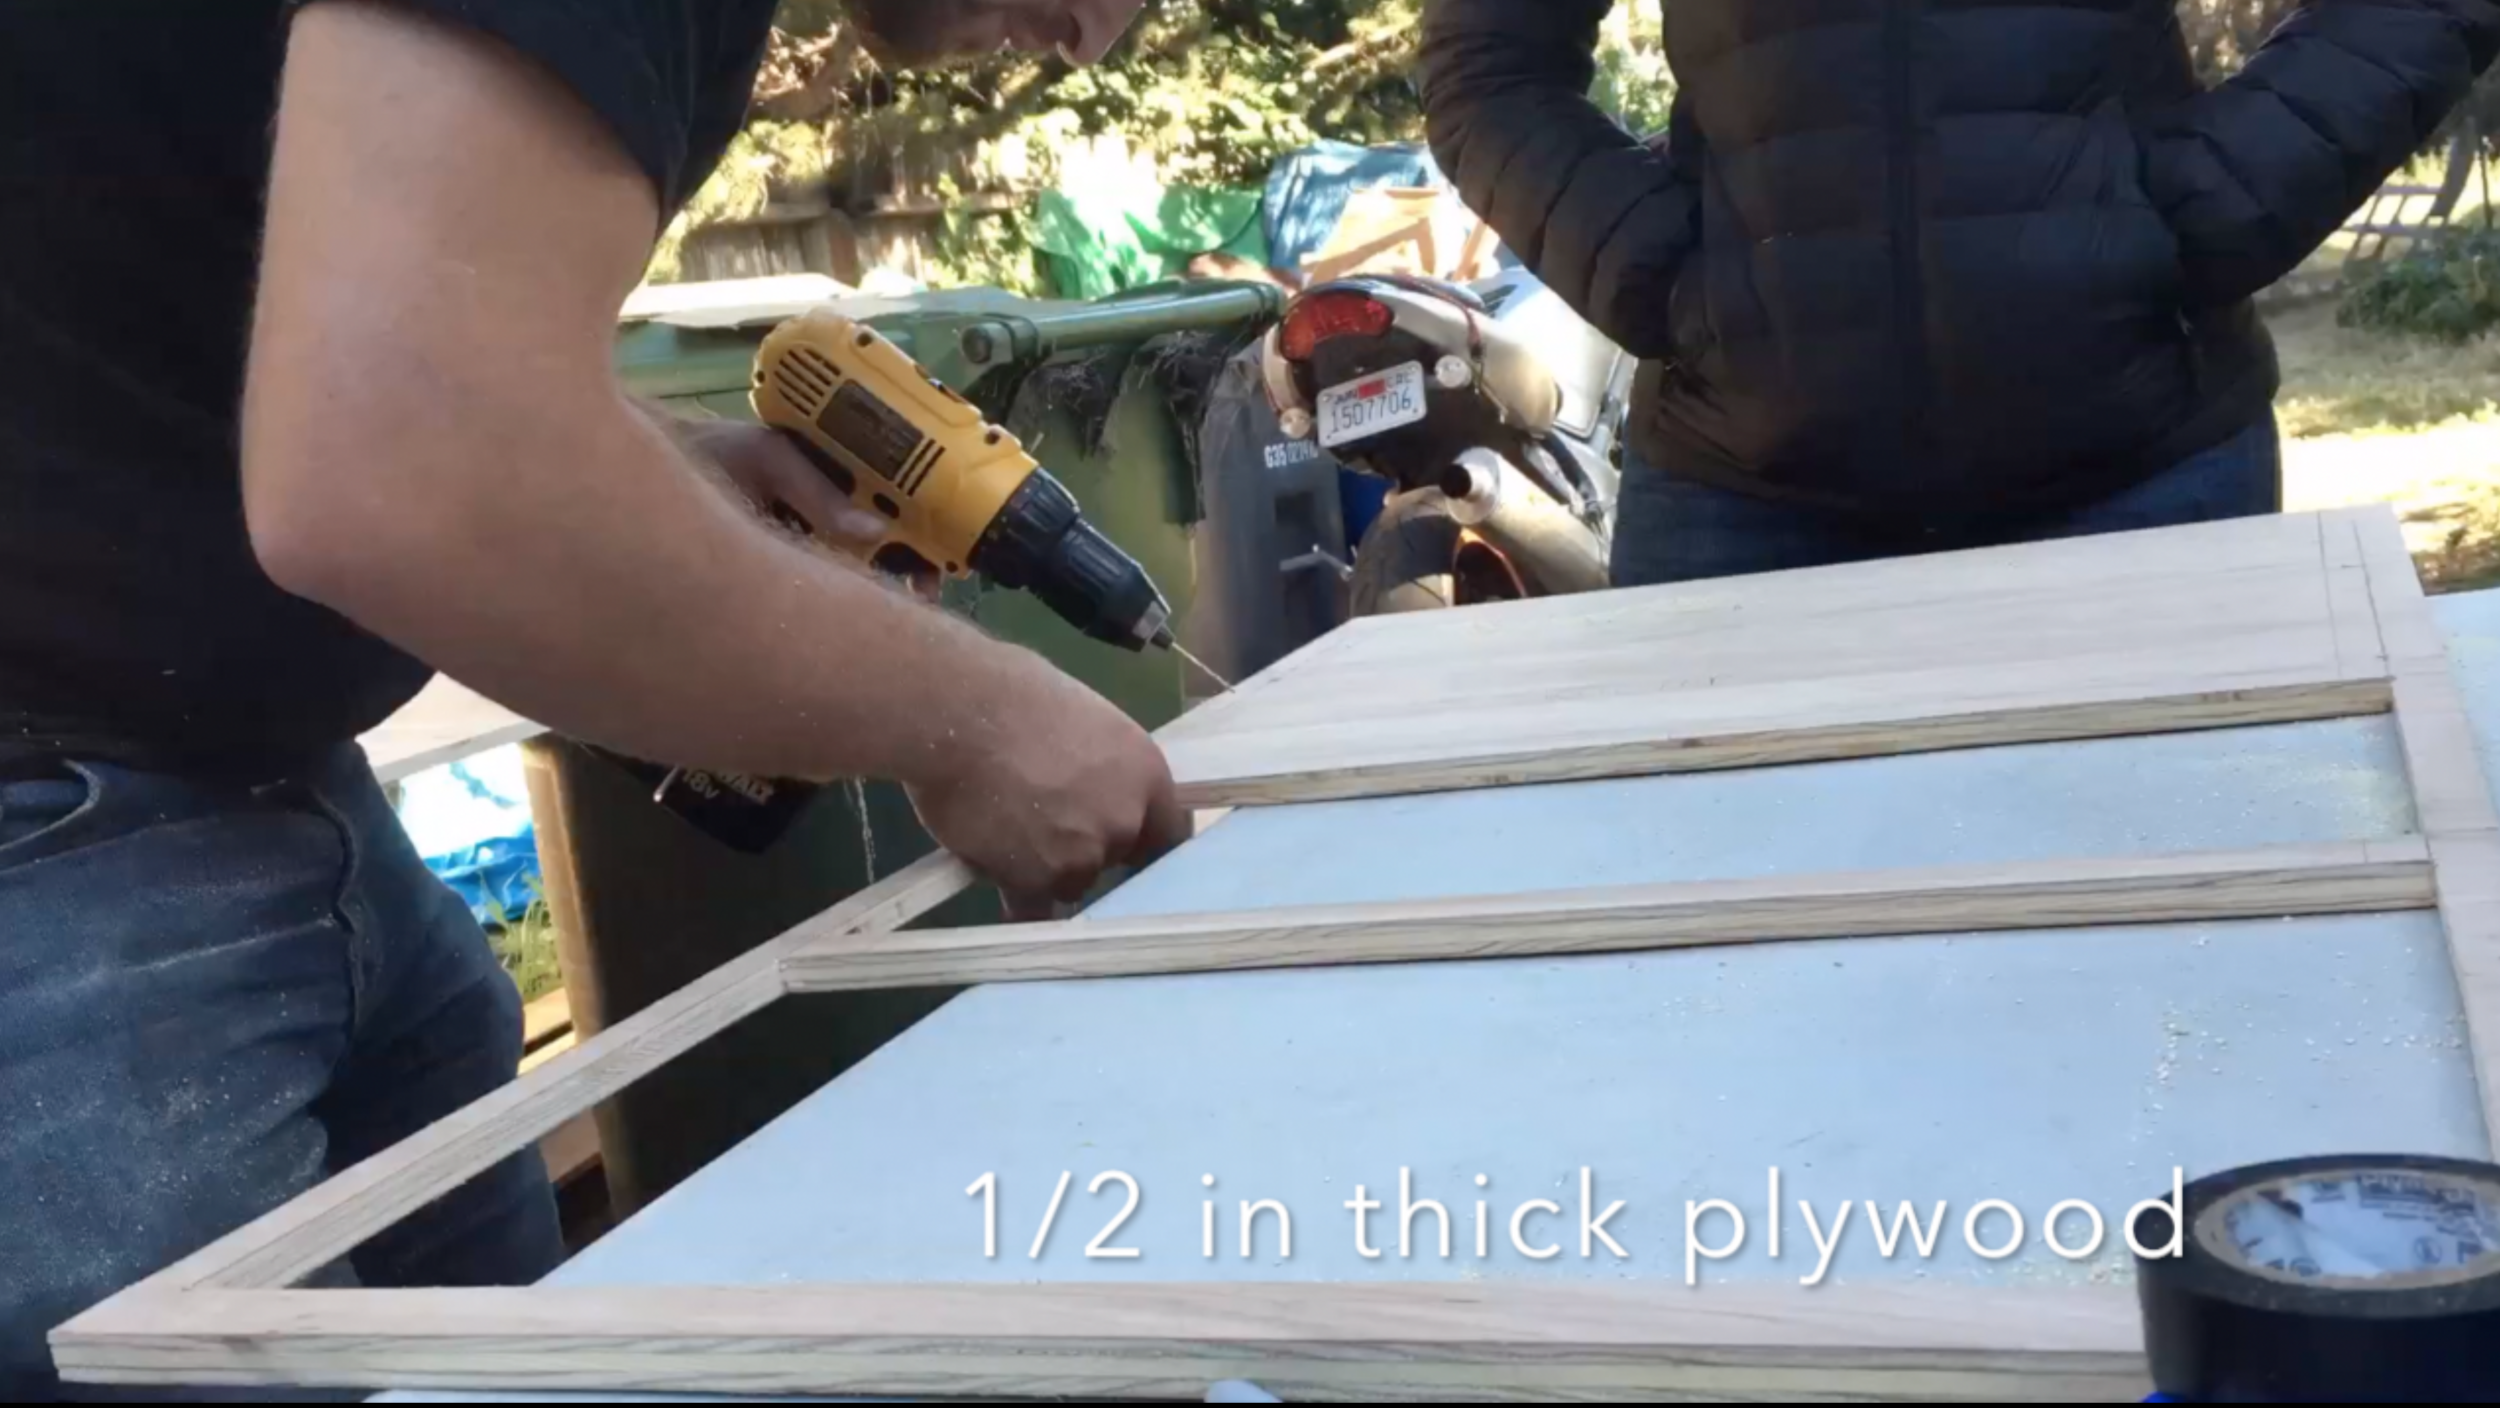
Step 3: Make the bed turn into a couch. This was a bit more math than I expected. Since we wanted the bed to be split in half and one part could move up and into a couch, we had to make sure that once the paneling was in the bed frame could still fit when it was in its chair form. Another thing to consider is that the body of the van tapers in closer to the top. We ended up making the floating bed frame smaller on the outsides and narrower at the center. The center of the hinge is also not dead center in the middle of the bed, its a bit off to one side so that the seat part of the couch (when in couch form) is larger than the back rest. 2x4's make the frame, 1/2" plywood for the paneling. Images below for clarification.

The seat of the couch
The back rest of the couch when it's up
Step 4: Frame out the counter top and kitchen cabinets. We used 3/4" plywood for the supporting beams of the countertop, which also double as the dividers between each section of the cabinet. In between each cabinet section, we used 2x4's to make the cabinets hold their shape, these 2x4's were also screwed directly to the van walls, nothing is screwed to the floor.

2x4's separate the cabinets and is screwed to the van wall

3/4" plywood acts as cabinet dividers and supports
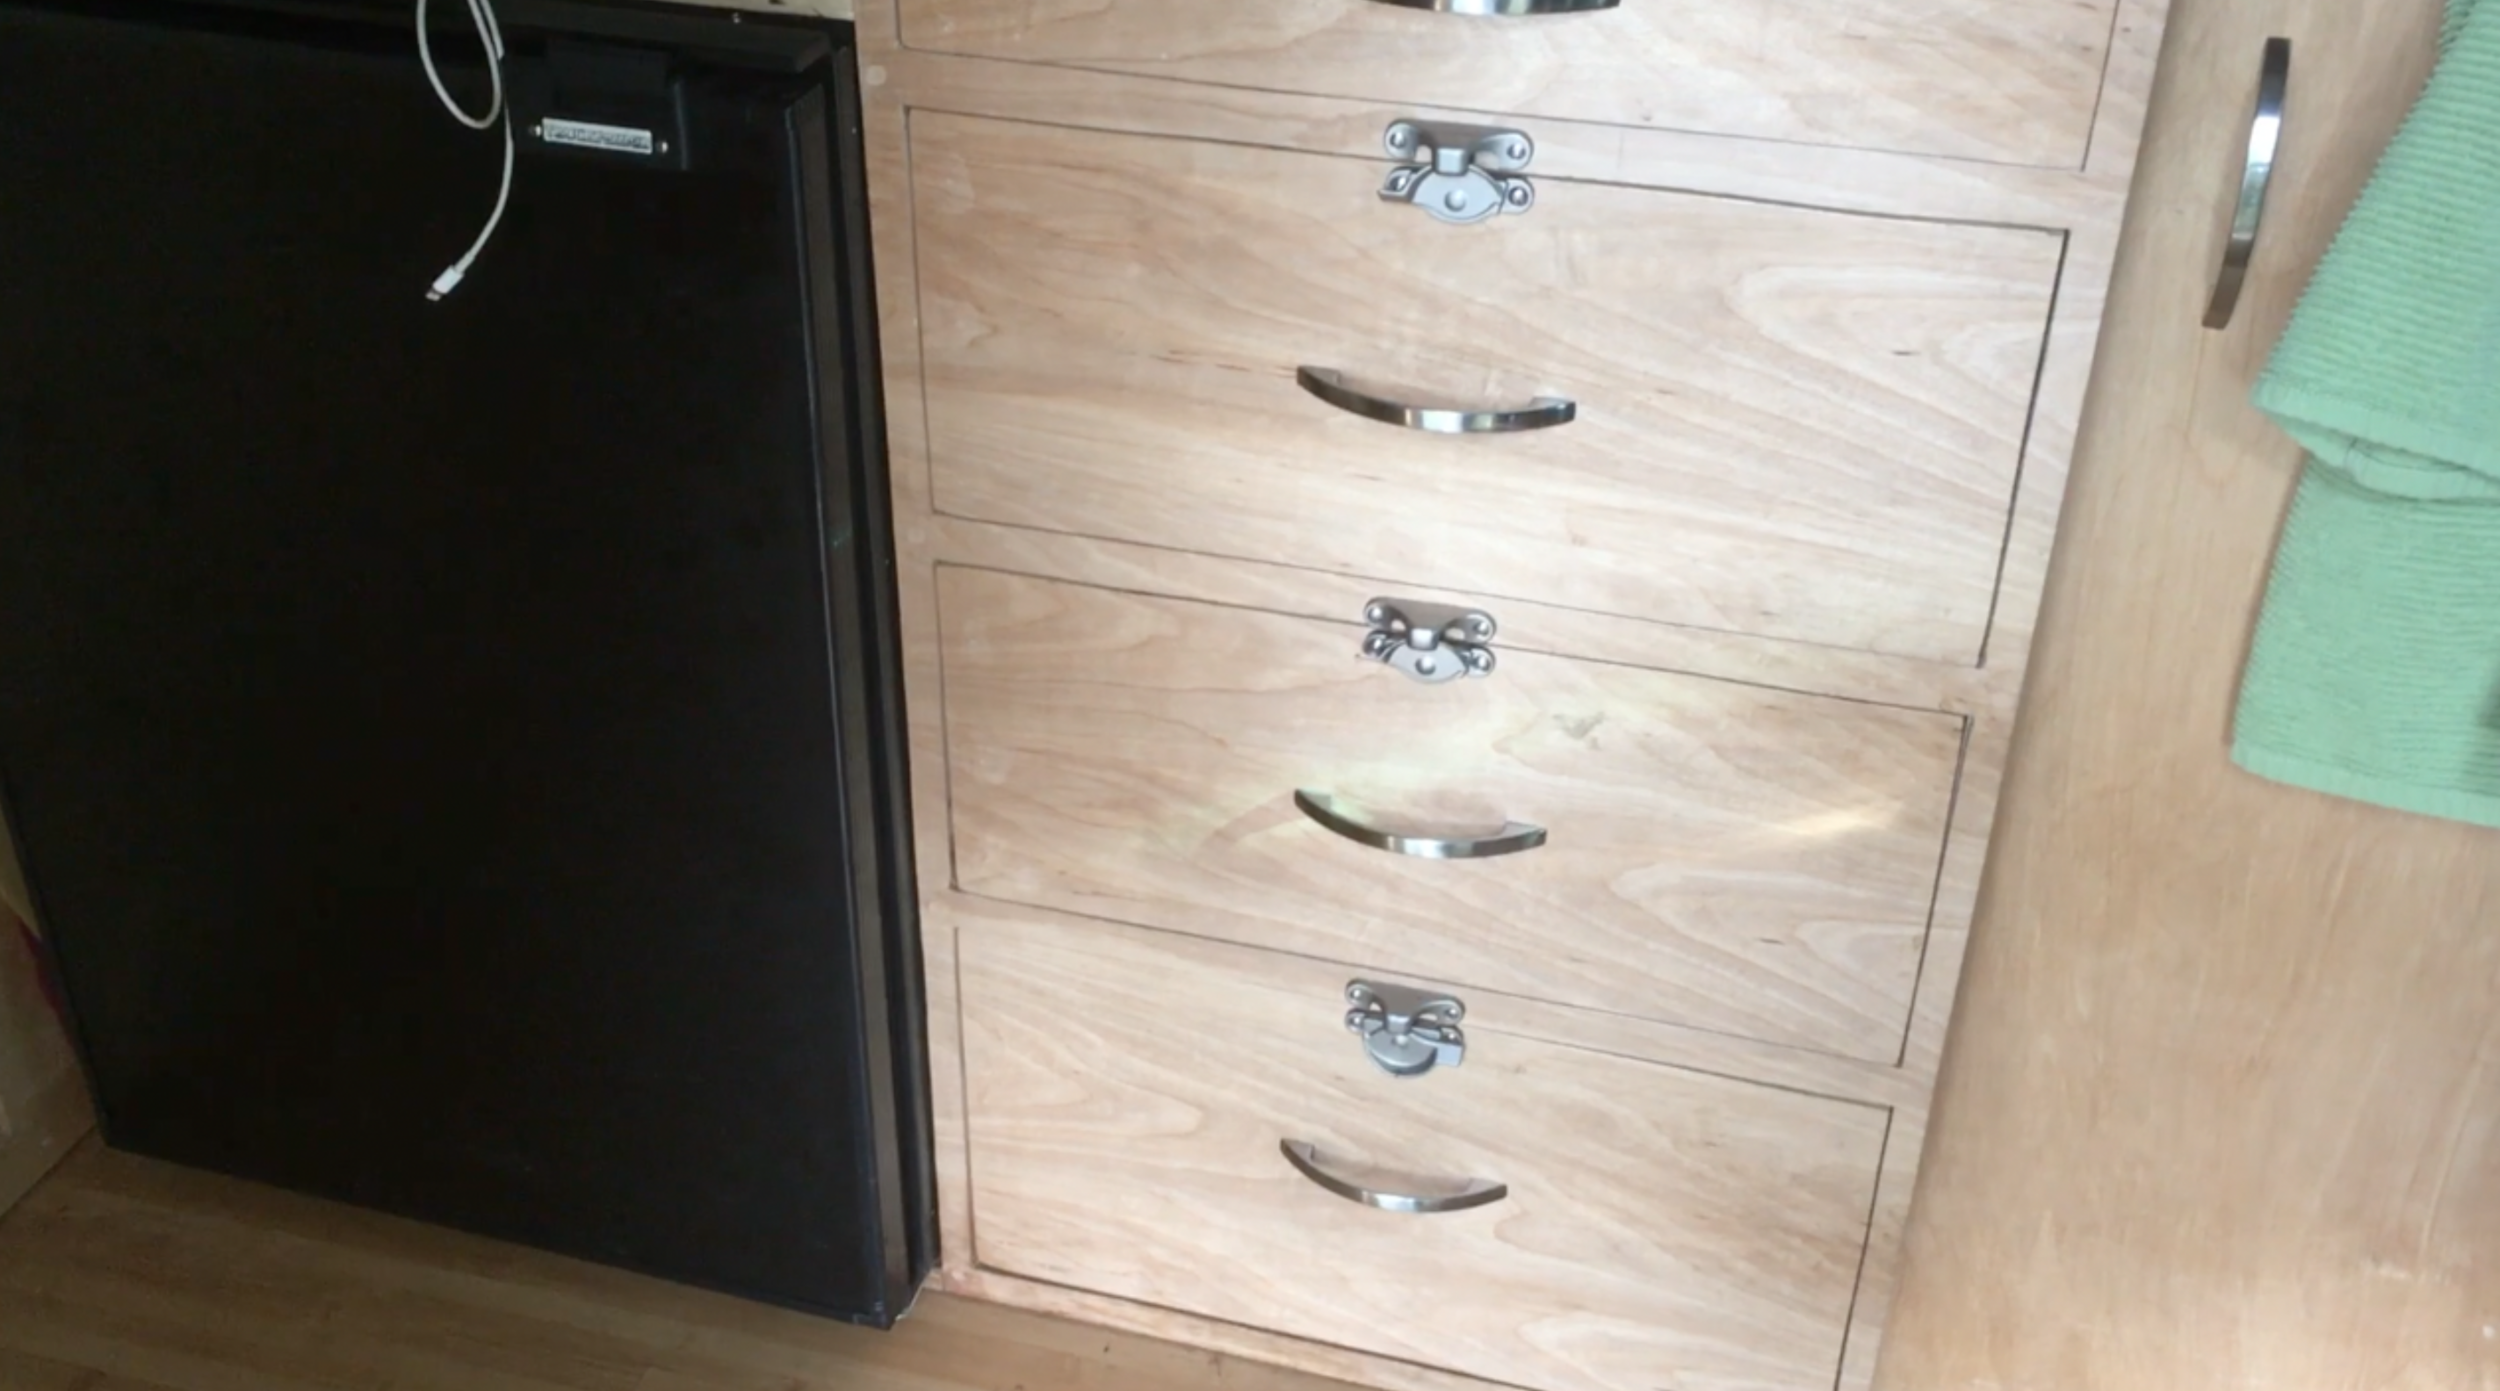
Step 5: Make all the drawers and faceplates! Using the 1/2" plywood we cut out the drawers. They are basically 5 sided boxes. Make sure you account for the faceplate parts of the drawers to be a bit larger than the inside of your drawers, you want the faceplates to sit flush when they are closed. When building drawers always pre drill your holes and use the fin screws to prevent the boards from splitting. The finish nails are really good for attaching the faceplates of the drawers, you will notice them less than the head of a screw!


Cutting out the faceplates of the cabinets (not the drawers) is delicate work. We didn't have the right tools on hand to do this, so we just pre drilled a very tiny hole and then widened it a bit (and in the process broke 3 or 4 drill bits), then once we could get the jigsaw in the hole we made the cuts. Fix any mistakes with wood putty.
Drilling and widening holes so we can fit the saw blade in

Cut carefully!
Step 6: Install the drawer tracks on the inside of the cabinets and the outside of the drawers. This is the part that sucks. You have to line everything up just right or it wont work. The soft close drawers we used for the back drawers were particularly difficult to line up, I would not recommend using these.
Step 7: Secure down the countertop. We were very lucky on this front, our countertop was cut, sanded and sealed by some very generous friends! The madrone slab we used was really heavy and very hard, so in order to secure it down we had to carefully pre drill some holes, and then screw the counter top down using the corner brackets and some regular screws.

Cutting the madrone slab to fit


Countertop in!
Step 8: Sand and seal everything. Before you put the drawers in, just sand them down and seal them with the min wax. Easy.
Step 9: Drawer pulls and sash locks. If you want to get the drawer pulls in the center of the drawer faceplate, make sure you measure to find the center!

Back drawers
Kitchen drawers

Me installing clothing drawers
Conclusion
Getting the bed, cabinets and countertop finished was super rewarding. If you've made it to this step you are almost done! Congrats! Just be patient with yourself and the drawers. And good luck!